Chicken Bone Broth (Chicken Stock)
(roast first, then simmer slow — the foundation of every great soup)
This is the chicken bone broth I make in big batches every few weeks and freeze in containers — it's the foundation of every good soup, ramen, risotto, and stew I cook. The technique that makes the difference: roast the bones first, then simmer them slow. Roasting deepens the flavour and gives the broth that golden colour you can't get from raw bones, and the long simmer extracts the gelatin and minerals that make a stock taste like a stock instead of salty water. The result is liquid gold — rich, gelatinous when chilled, and powerful enough to elevate anything you pour it into.
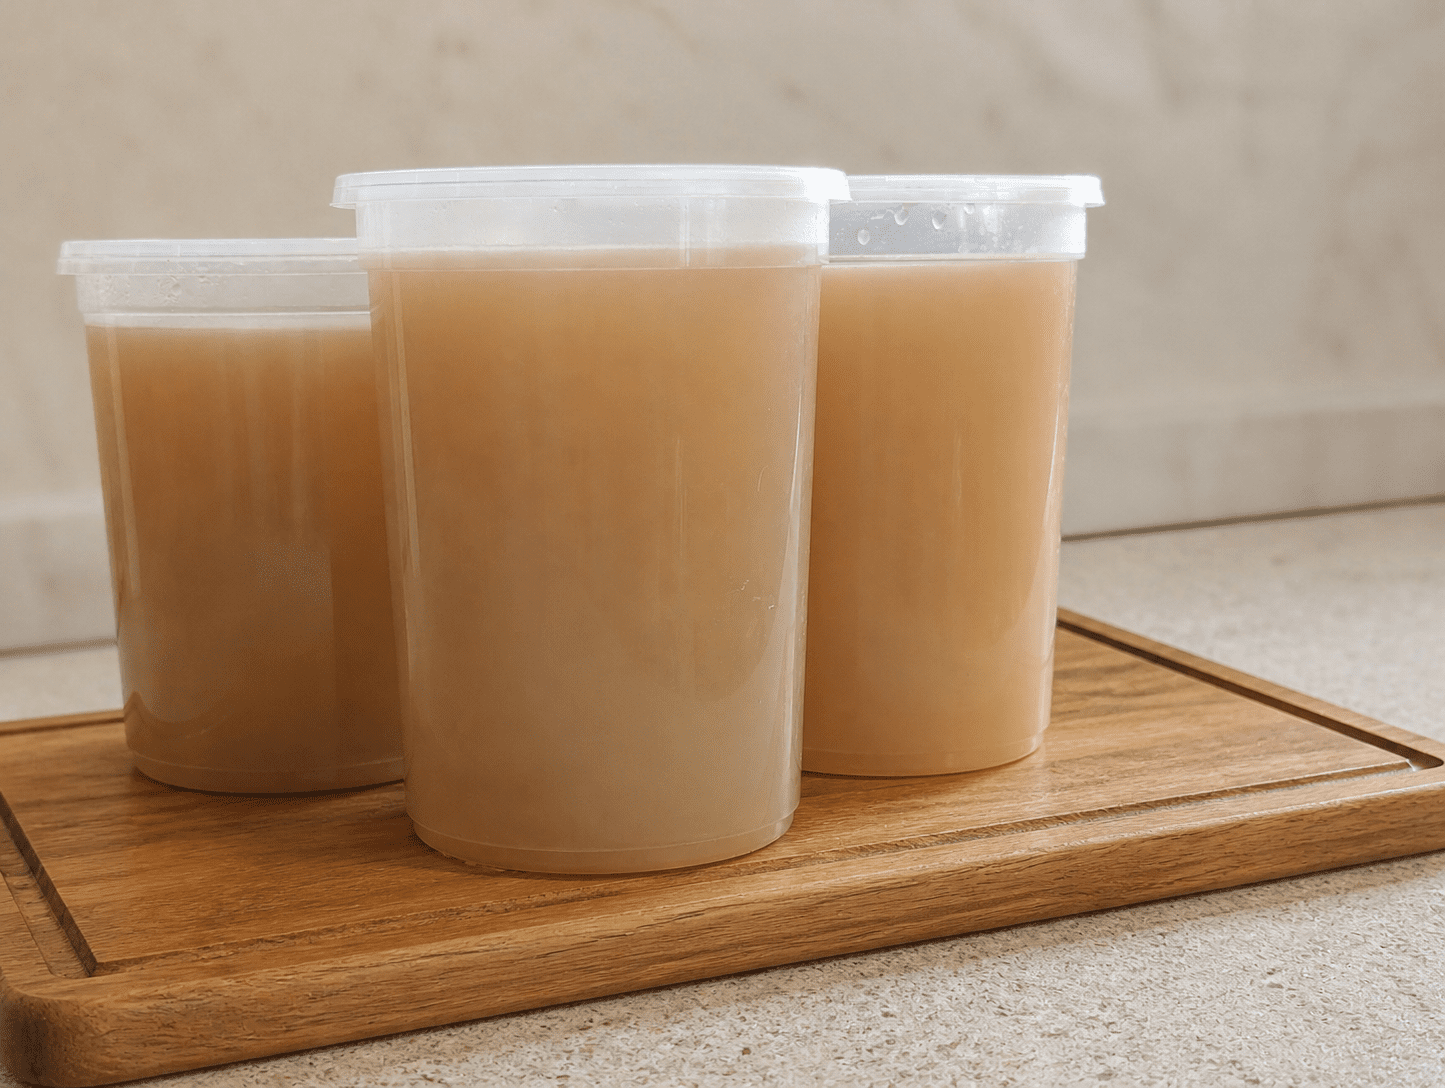
A batch of golden chicken bone broth — the foundation of every soup I make
Why This Chicken Bone Broth Works
Most homemade chicken stock recipes skip the single most important step: roasting the bones before they ever touch water. It's the difference between a pale, watery liquid that tastes vaguely chicken-adjacent and a deep, golden broth that tastes like the soul of a chicken. Twenty minutes in a hot oven on the grill setting browns the surface of the bones and builds the Maillard reactions that give roasted meat its flavour — and that flavour gets pulled into the water during the simmer.
The other thing that separates great broth from average broth is time. There are no shortcuts here. The four hours of slow simmering is what extracts the gelatin from the cartilage and the minerals from the bones. You'll know you got it right when your fridge-cold broth has the texture of soft jelly — that's the gelatin, and that's exactly what you want (the team at Serious Eats has a great deep-dive on the science of gelatin extraction if you want to go further down the rabbit hole). When you reheat it, it melts back into liquid and adds body to whatever you're cooking.
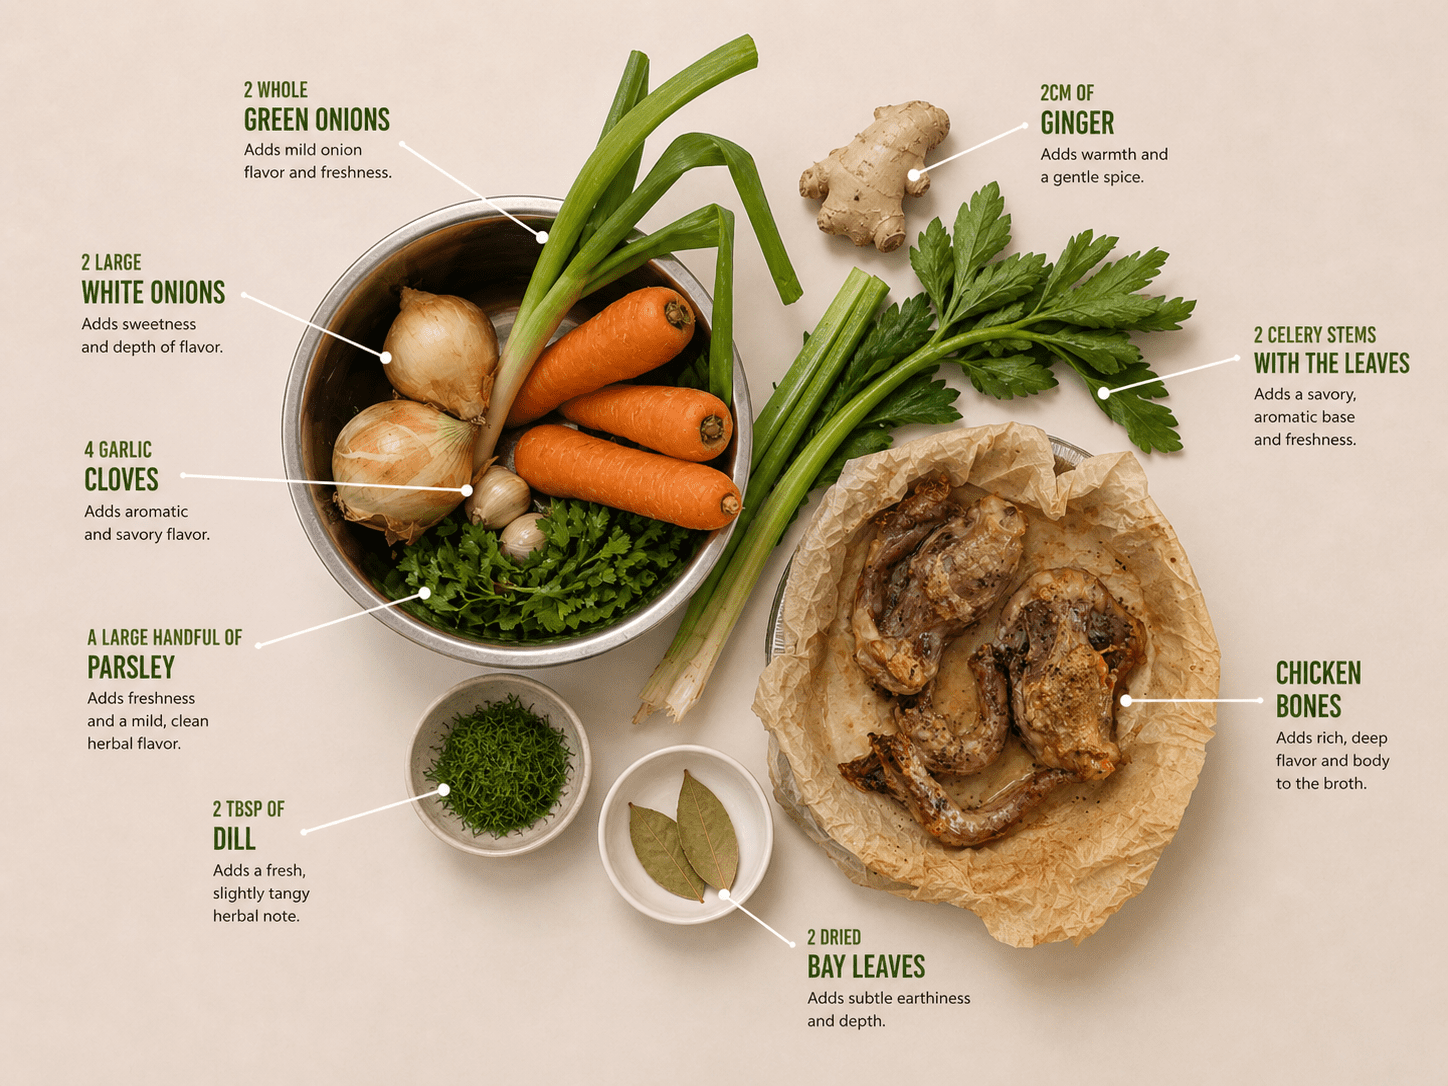
The aromatics — onions, carrots, celery, parsley, dill, ginger, bay — go in at the very end (last hour only). Vegetables that simmer for four hours turn bitter and muddy. An hour is plenty to extract their flavour without breaking them down to mush.
How to Make Chicken Bone Broth, Step by Step
- Preheat the oven to 200°C (400°F) on grill setting.
- Spread the chicken bones on a baking tray lined with parchment paper for easy cleanup.
- Sprinkle generously with salt and pepper, then drizzle with olive oil.
- Roast for about 20 minutes until deeply browned — slightly burnt edges are good, that's where the flavour lives.
- Don't toss the rendered juices on the tray — you'll want those.
- Fill your largest pot about ¾ full with water — I use an 11-litre tall pot. Tall pots reduce less water during the simmer than wide ones.
- Salt generously, like you'd salt pasta water. The broth will reduce, so don't oversalt — you can adjust later.
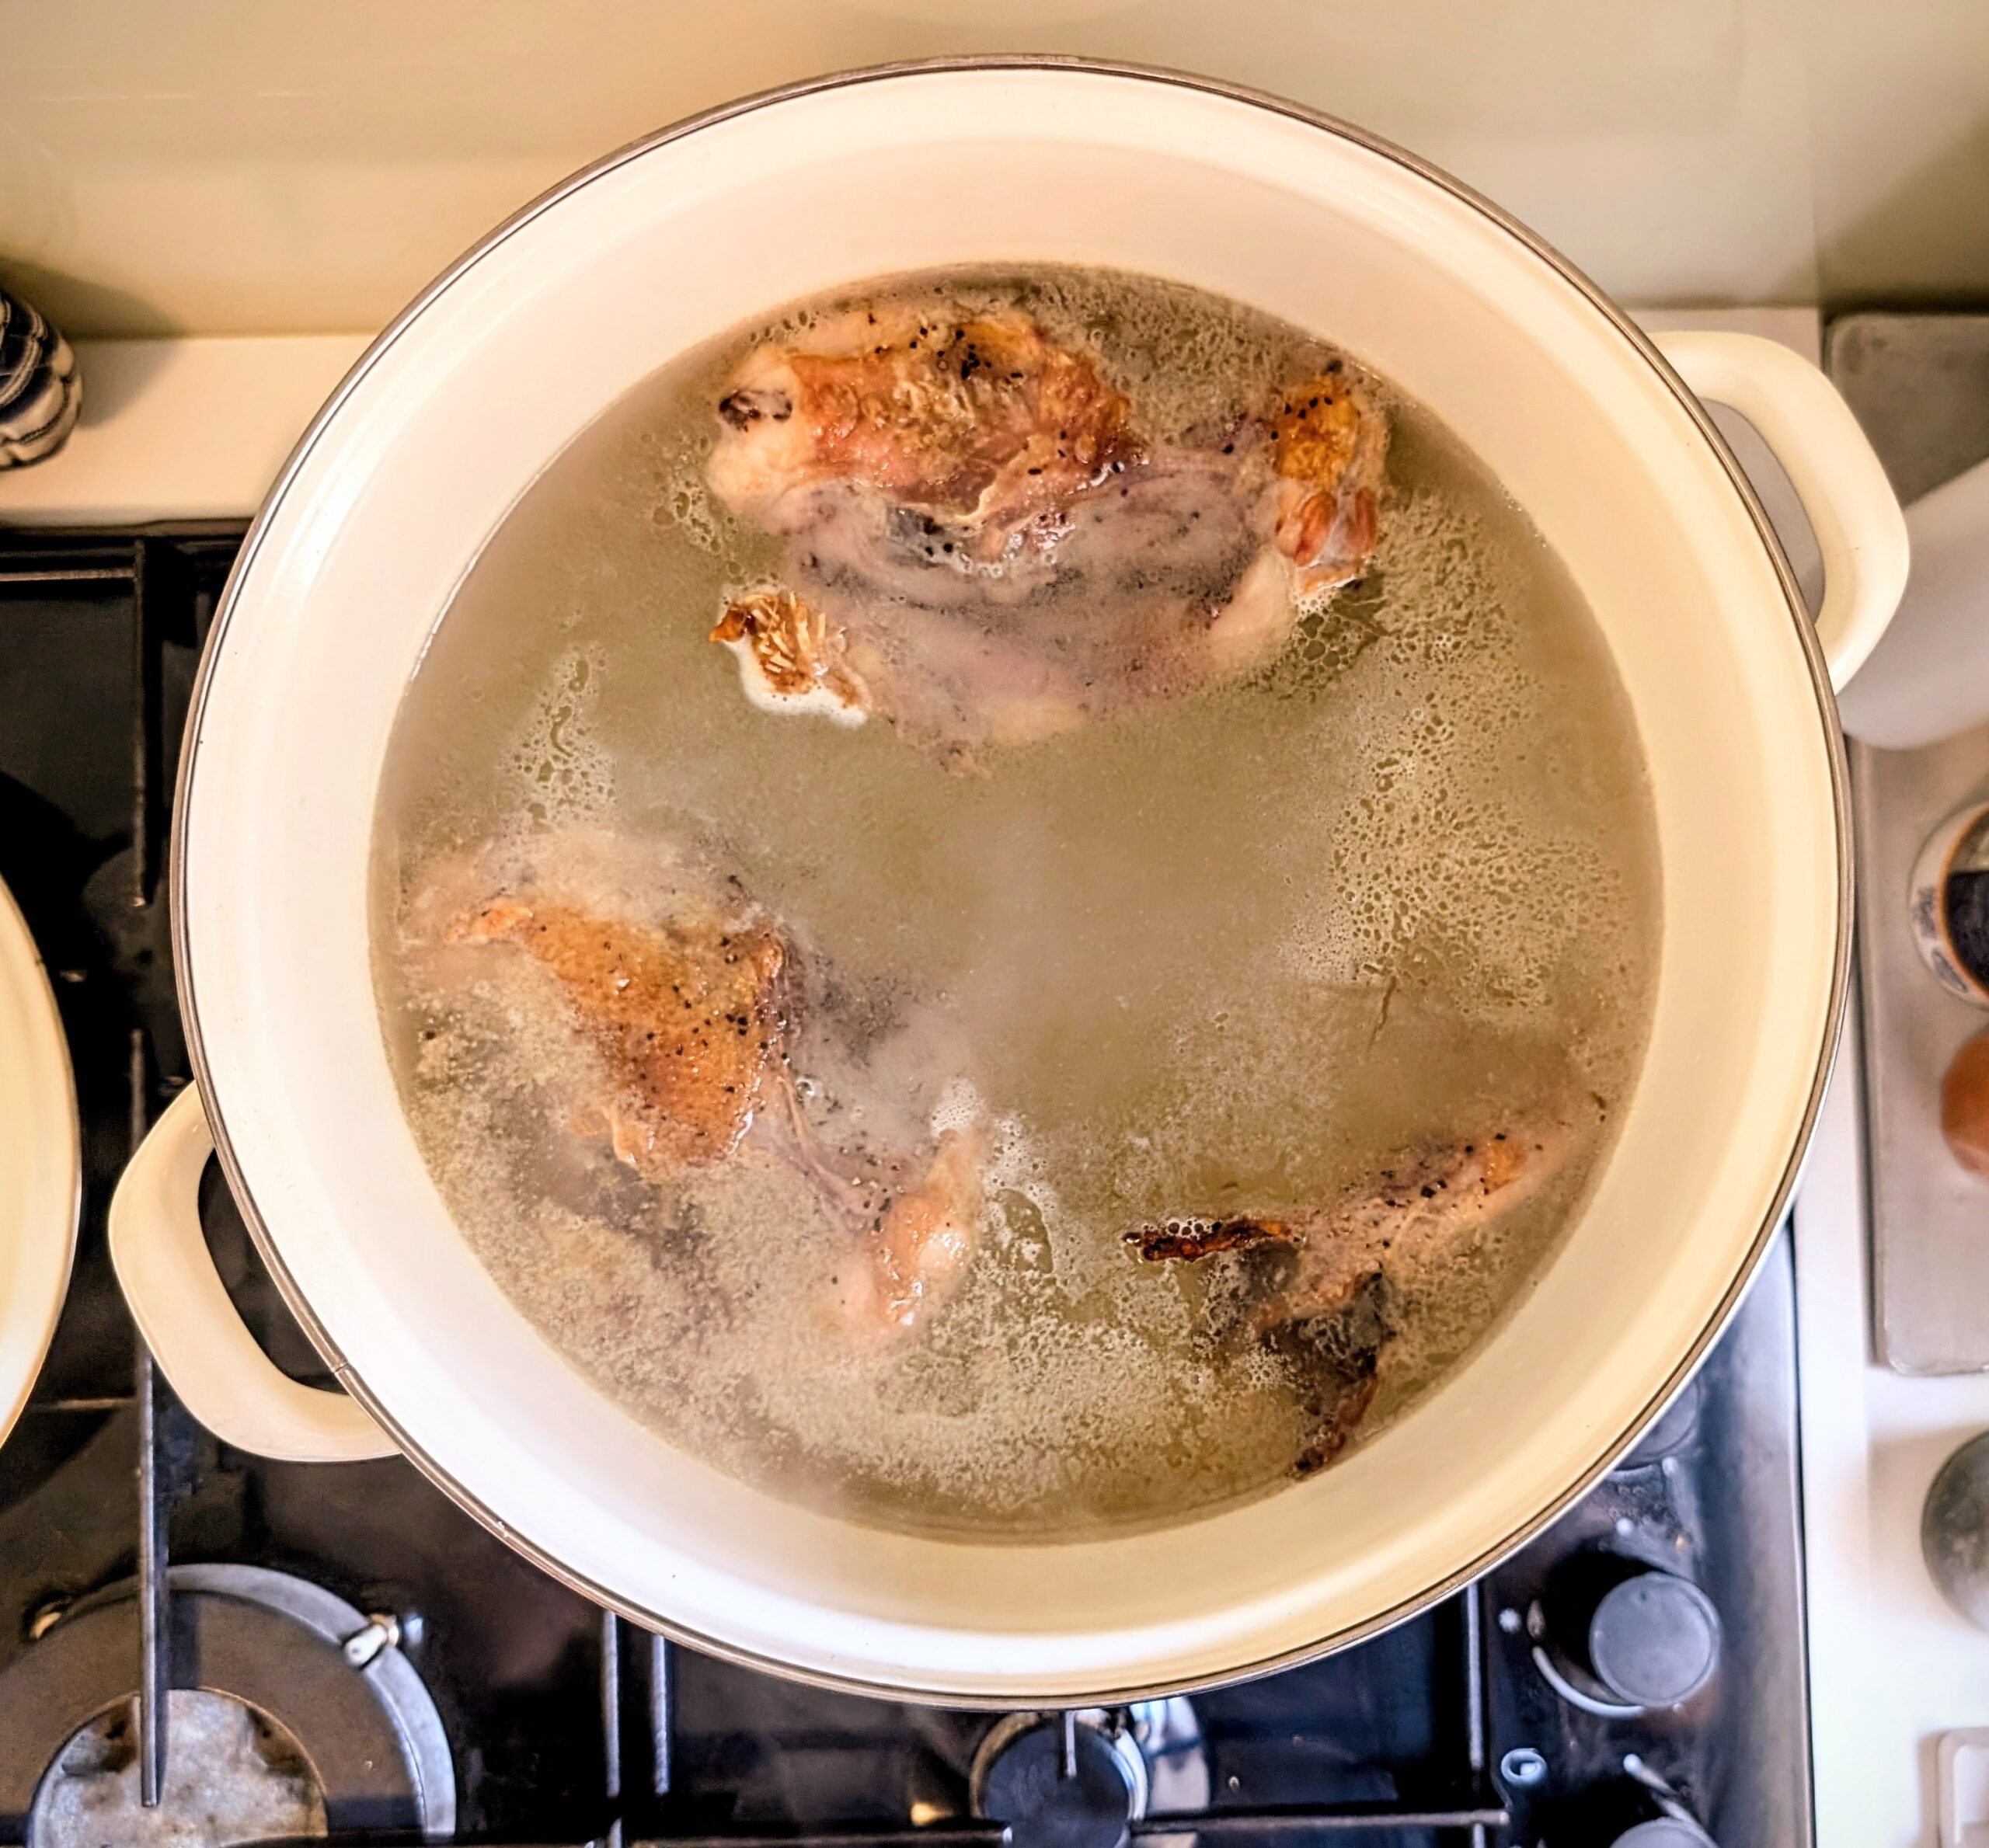
- Bring to a boil, then add the roasted bones along with all the rendered juices from the roasting tray.
- Once the pot returns to a boil, decide on your style: low simmer for clear broth, hard boil for milky-white broth.
- Let the bones cook for about 3 hours.
- Check every 30 minutes or so and top up with water if it has reduced too much — you don't want bones exposed.
- Roughly chop all the vegetables and aromatics — no need to peel or clean perfectly, everything will be strained later.
- At the 3-hour mark, add the carrots, onions, green onions, celery, garlic, ginger, parsley, dill, and bay leaves.
- Continue simmering for one more hour. This is enough to extract their flavour without turning them muddy.
- Turn off the heat and let the pot sit for 15-20 minutes. Hot stock is dangerous to handle and tears cheesecloth.
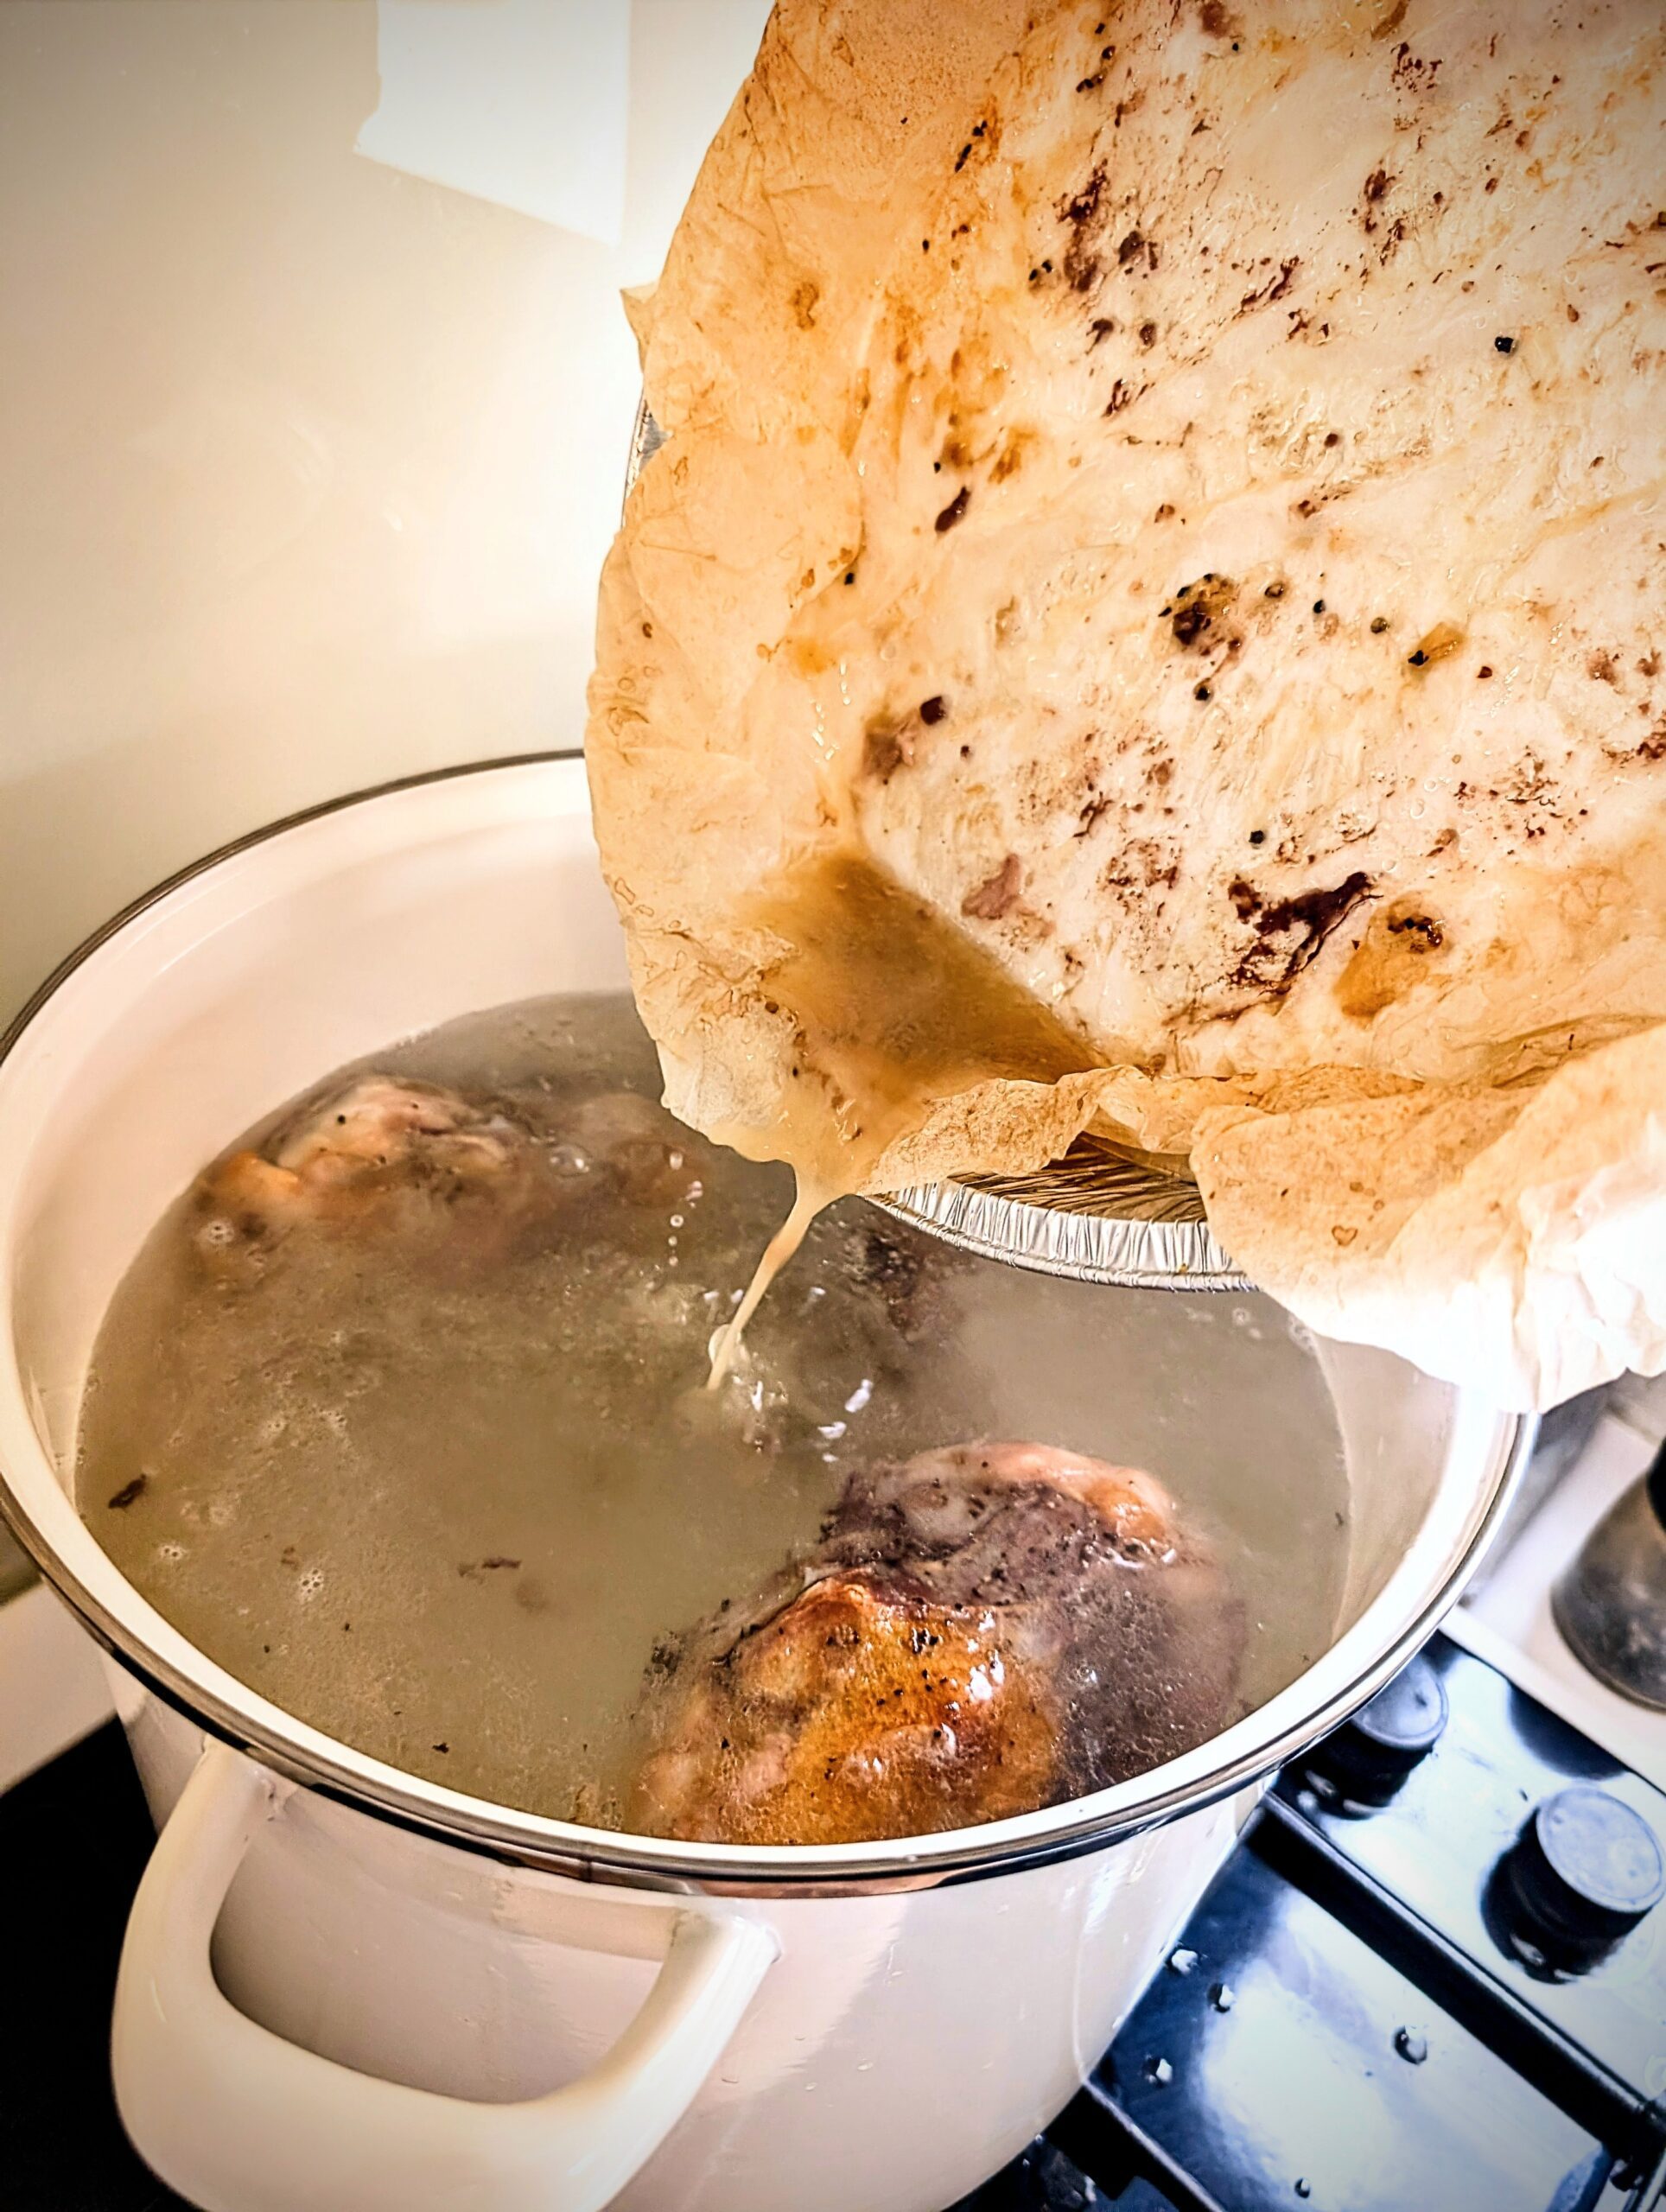
- Set up a large clean pot underneath a strainer lined with cheesecloth (or any thin clean cloth — a clean tea towel works).
- Carefully pour or ladle the broth through. Press gently on the solids to extract every drop, then discard the bones and vegetables.
Storage
Cool the broth completely before storing. The fastest way: set the pot in a sink full of cold water with ice and stir every few minutes — it'll come down to fridge temperature in about 30 minutes. Once cold, transfer to plastic containers (the rectangular deli-style ones stack well in the freezer).
Fridge: up to 1 week. Freezer: up to 6 months.
What to Use It For
Once you have a stash of homemade broth, almost everything you cook gets better. A few of my favourite uses:
- 🦴 Save bones over time: Every time you eat a roast chicken or break down a whole bird, freeze the bones in a zip-lock bag. When you have enough for a batch (~1.5 kg), it's broth day.
- 🔥 Roast hard: Don't be precious about the roast. You want deep brown, almost-burnt edges. Pale roasted bones make pale broth.
- ⏱️ Don't rush the simmer: Three hours is the minimum. Some people go six or eight. Less than three and you don't extract enough gelatin to set when chilled.
- 🥕 Vegetables go in late: One hour at the end, no more. Long-cooked vegetables turn the broth bitter and muddy.
- 🧂 Salt lightly: Salt during simmering, but lightly. The broth reduces and concentrates — it's much easier to add salt later than to remove it.
- 🧊 Cool fast, freeze flat: Cool the broth quickly (cold water bath), then freeze in shallow containers. Frozen broth thaws much faster in shallow shapes than in deep blocks.
- 🌟 Skim the foam: In the first 30 minutes of simmering you'll see grey foam rise to the top. Skim it off with a spoon — it's just impurities and removing it gives a cleaner-tasting broth.
Frequently Asked Questions
Drop a comment below and let me know how your broth turned out — and what you used it for. The first time you cook rice in homemade chicken broth instead of water, you understand why people get into this. For ideas, try my chicken corn soup or udon chicken soup — both are dramatically better with this base.