Fried Kibbeh Recipe (Iraqi Kubba with Crispy Bulgur Shell)
(thin bulgur shell, spiced beef and pine nut filling, deep fried to deep golden brown)
This fried kibbeh recipe is the one I have been chasing for years. My grandmother made these every week and they were my favorite thing to eat as a kid, so every version I try gets measured against a memory. Kibbeh changes completely depending on where the cook is from: rice in the shell, semolina instead of chicken, a sweeter filling, Syrian, Egyptian, Iraqi, Kurdish. This is the Iraqi kubba I grew up on, a thin bulgur shell bound with ground chicken breast around a filling of beef, fried onion and pine nuts. The whole thing rests on one thing you have to learn by feel, and I have tried to describe it as precisely as I can below.
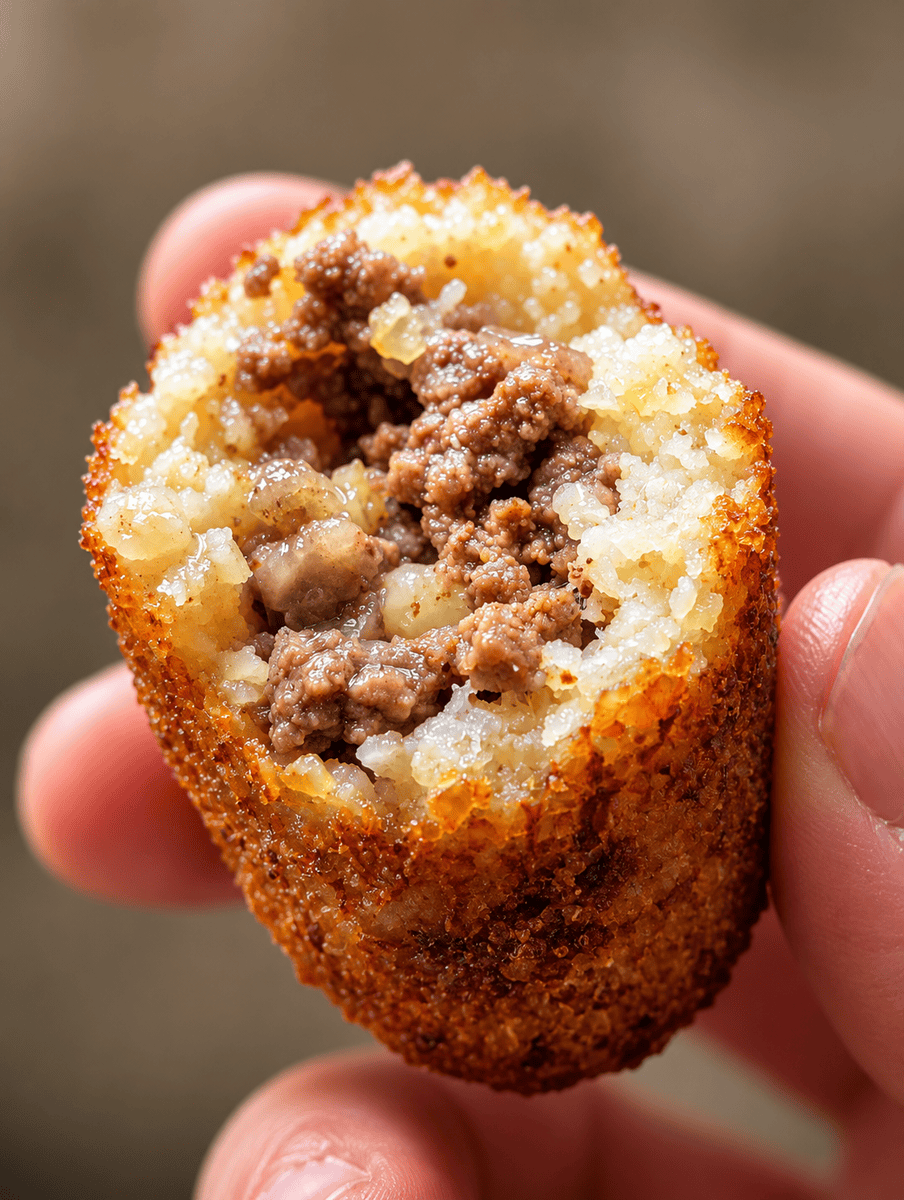
Thin shell, substantial filling. This is the ratio you are aiming for
What Makes This Fried Kibbeh Recipe Work
Kibbeh is a whole family of dishes rather than one recipe, and this fried kibbeh recipe is only one branch of it. The version you picture depends entirely on whose kitchen you grew up in. The torpedo shape with a bulgur shell is the Iraqi kubba. Aleppo-style versions use a rice shell. Some cooks sweeten the filling, some skip the pine nuts. None of them are wrong, they are just different houses.
What separates a good one from a disappointing one is not the filling, which is hard to get wrong. It is the shell. The shell has to be thin enough to shatter when you bite it and strong enough to hold together in hot oil without splitting. Those two demands pull against each other, and the whole technique is about finding the point between them.
Three things get you there. The bulgur has to be the fine grind, not the coarse kind you would use for tabbouleh. The ground chicken breast is not filler, it is the binder: its protein holds the hydrated bulgur together the way an egg holds a meatball. And the water goes in slowly, a quarter cup at a time, because you are aiming for a texture rather than a measurement.
If you like this kind of Middle Eastern cooking, the same instinct for spice and patience shows up in my stuffed zucchini and in the overnight Libyan beef and white bean stew.
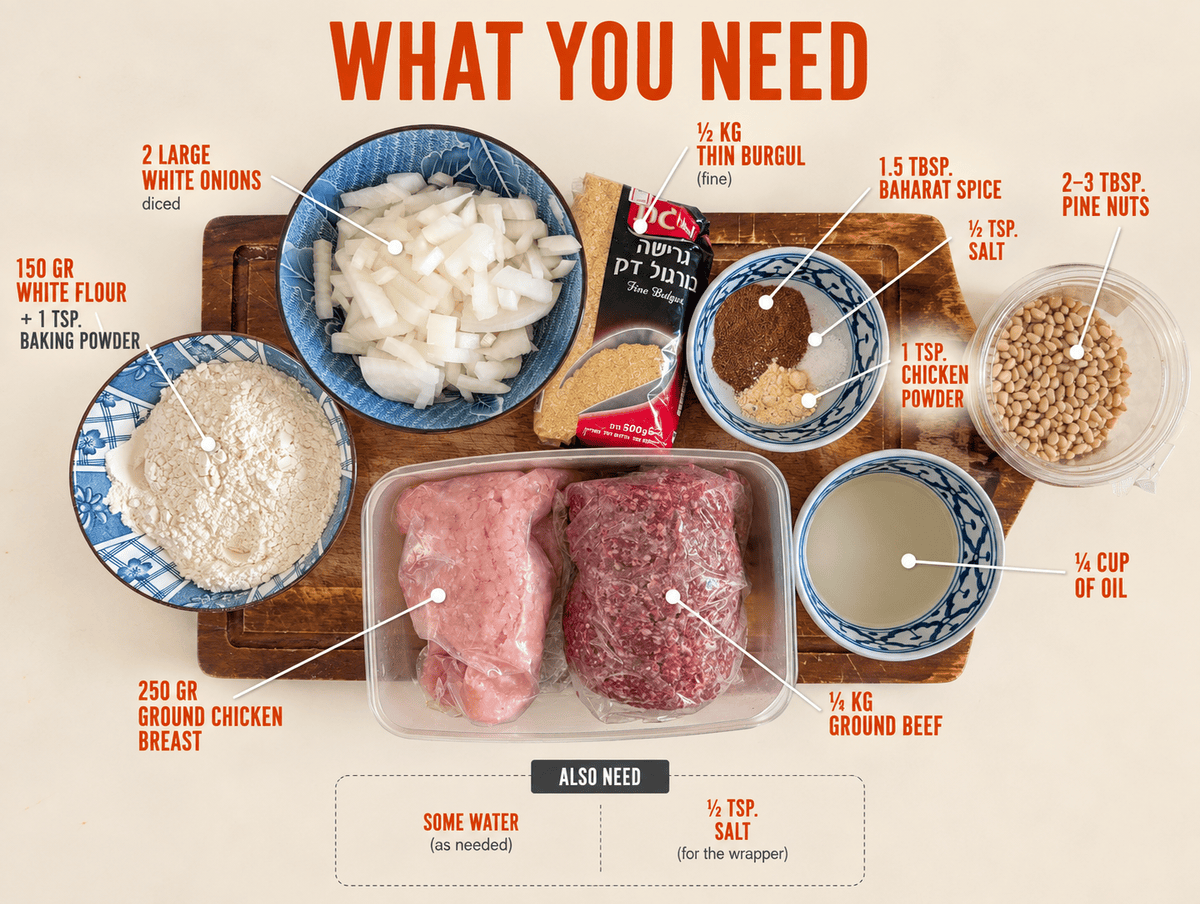
Make the Filling First
The filling has to be completely cool before it goes anywhere near the shell. Warm filling softens the bulgur dough from the inside and makes sealing almost impossible, so this is the part to start with.
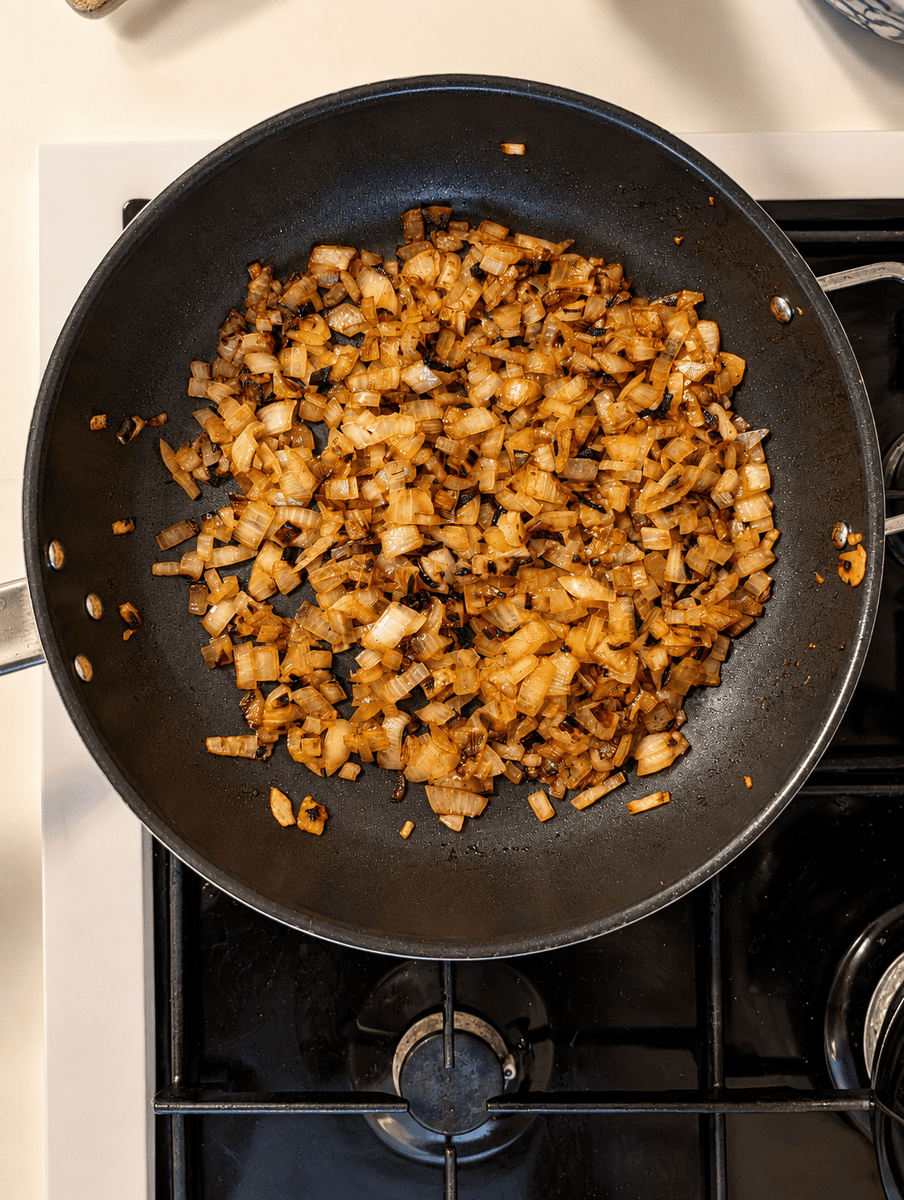
- Finely chop both onions and cook them in oil over low heat.
- Take them well past translucent, all the way to golden brown with darker edges.
- This is where most of the sweetness in the filling comes from, and it cannot be rushed on high heat without turning bitter.
- Set them aside and keep the pan.
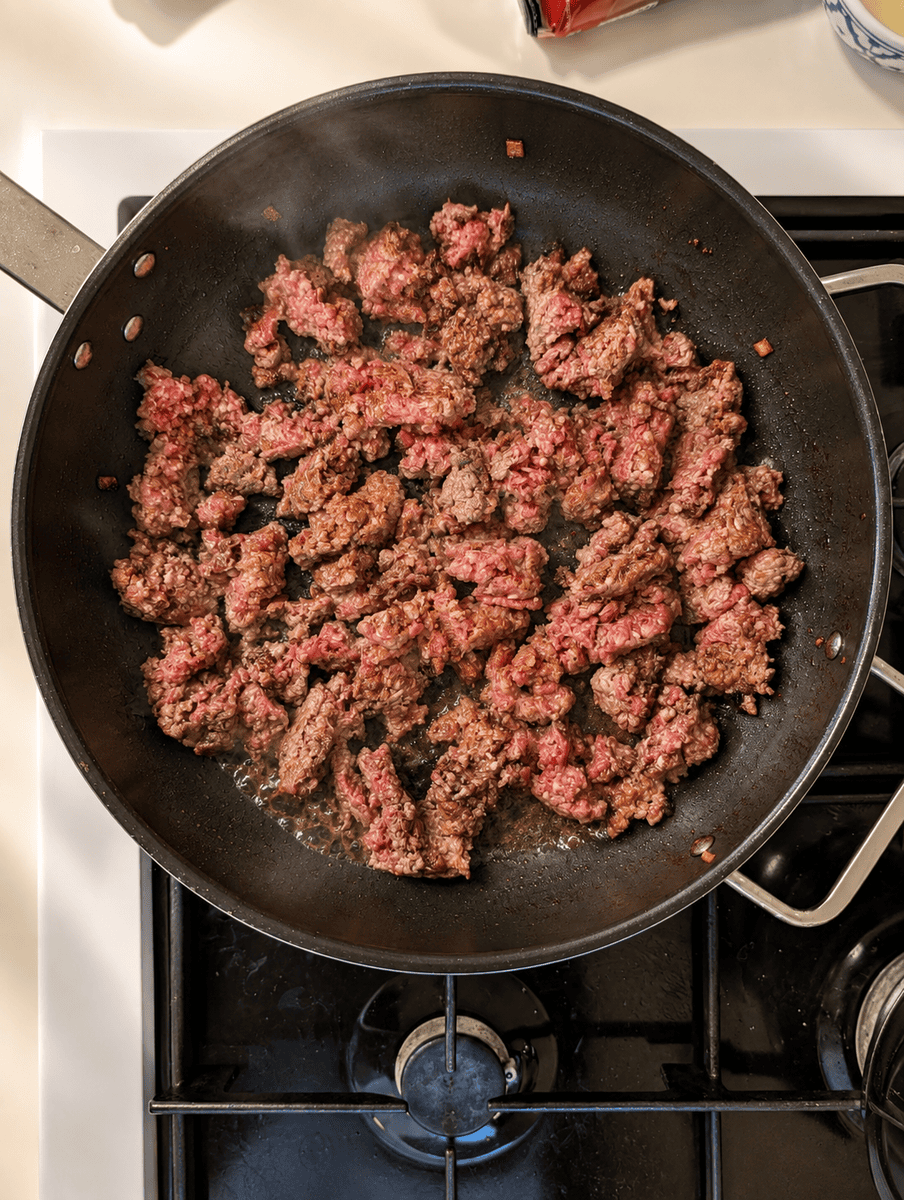
- Add the ground beef to the pan the onions came out of and break it up as it cooks.
- Let it start to brown properly rather than just turning grey. The browned bits left in the pan are flavor.
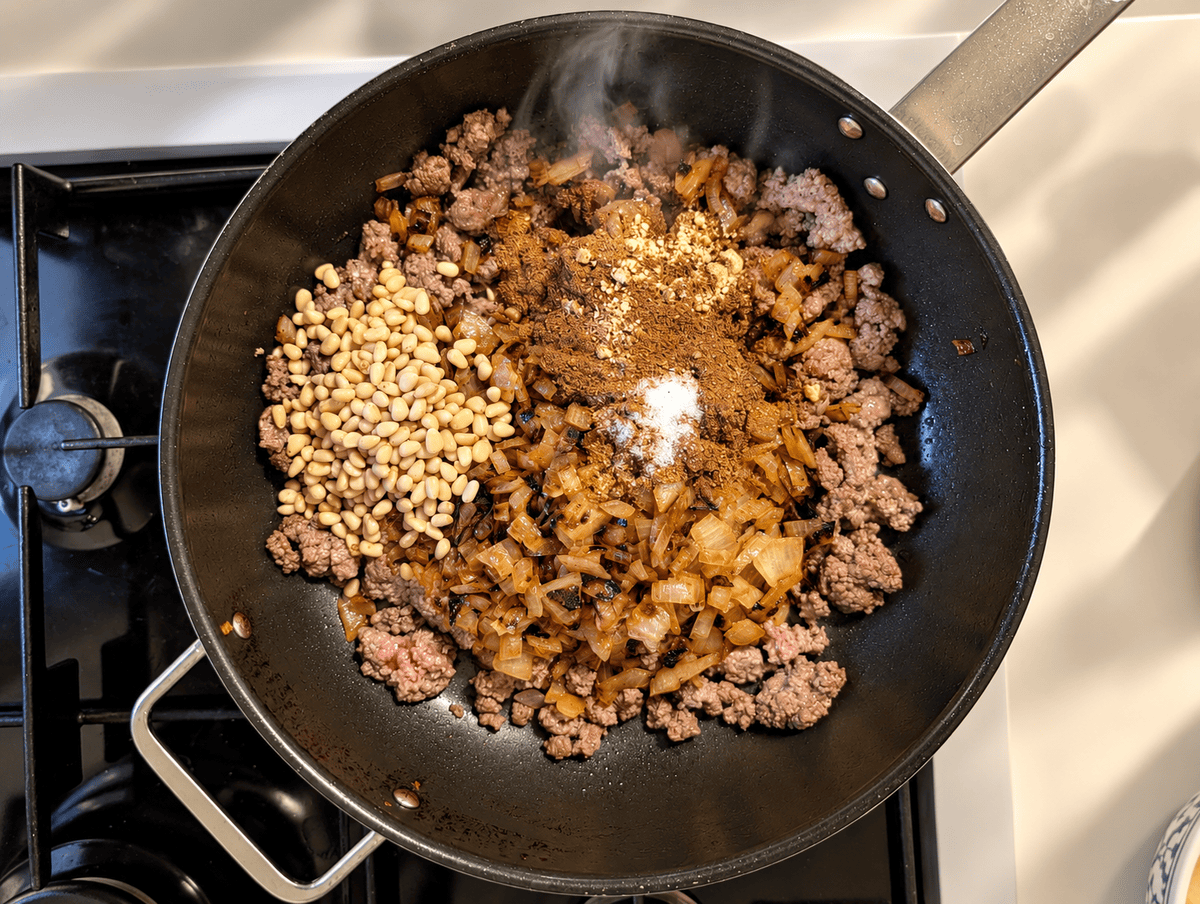
- Add the salt, baharat, chicken powder, the fried onions and the pine nuts.
- Fry everything together for a few minutes so the spices bloom in the fat rather than sitting raw on the meat.
- Baharat is the defining flavor here. It is a warm blend built on allspice, black pepper, cinnamon and cloves, and there is no real substitute.
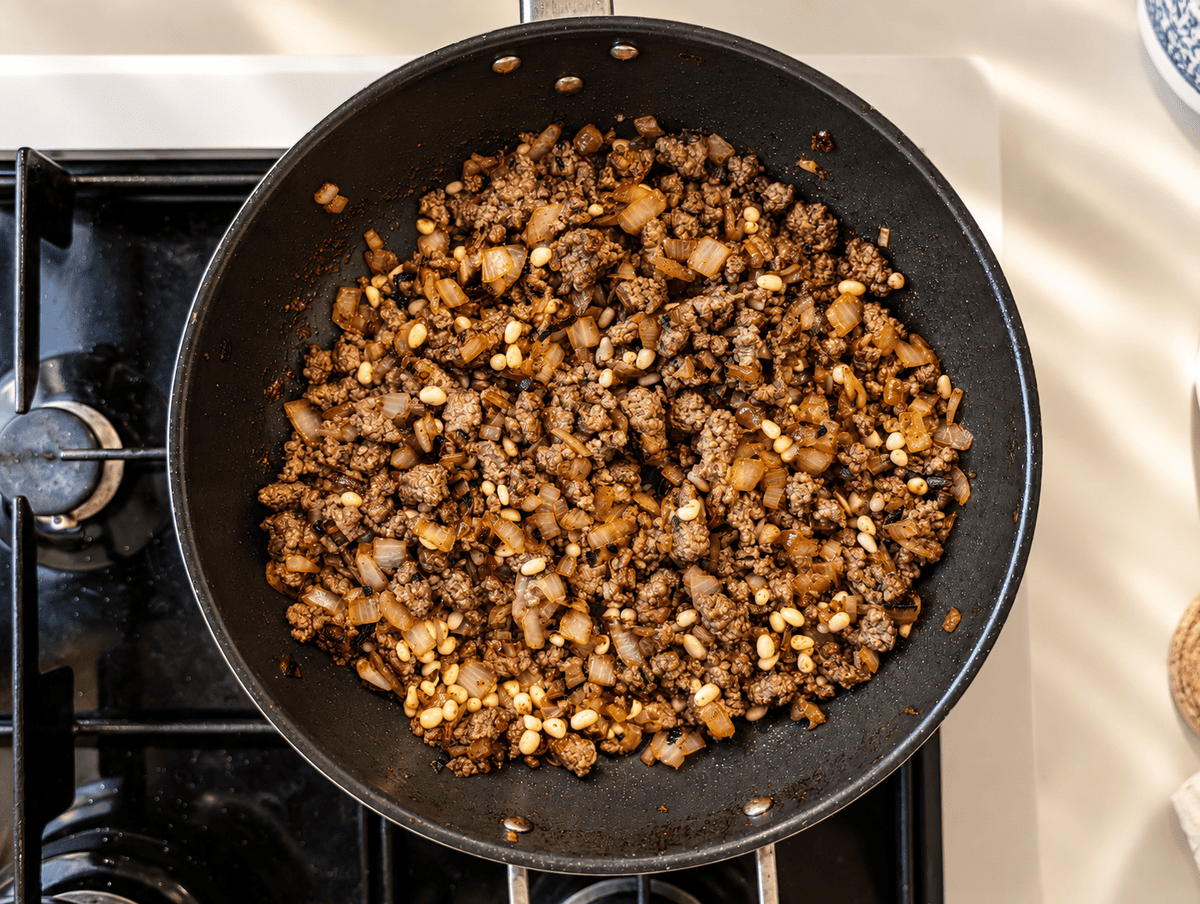
- Spread the filling out and let it come down to room temperature.
- Do not shortcut this. Warm filling will soften the shell dough from the inside while you are trying to seal it.
Making the Bulgur Shell
The shell is what this fried kibbeh recipe lives or dies on, and it is the part that takes practice. Everything up to now is straightforward cooking. From here you are working toward a texture you have to recognize by hand, and I will describe the test I use at the end of it.
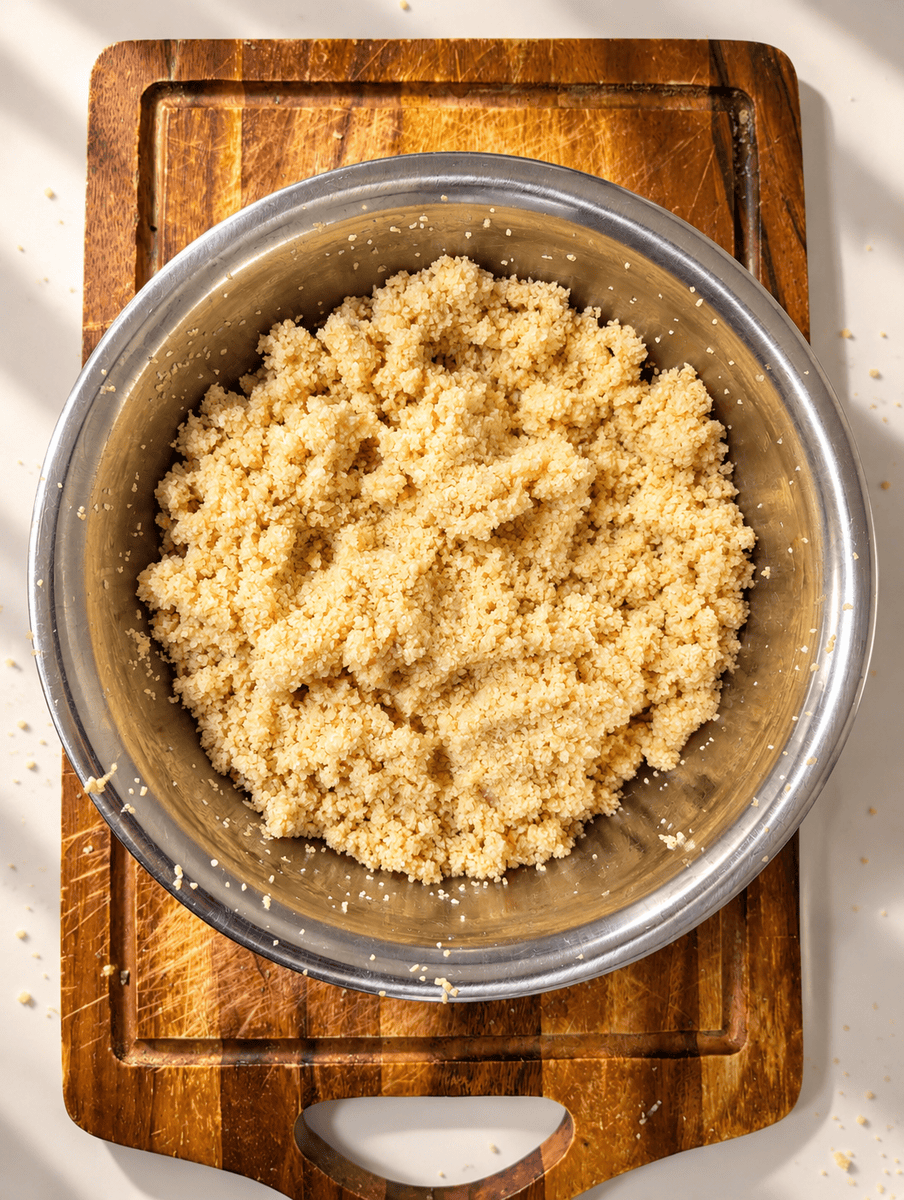
- In a big bowl, submerge the thin bulgur completely in water, then drain it off.
- Let it rest about 20 minutes. The grains keep absorbing the water they are holding and swell as they sit.
- Use fine bulgur. Coarse bulgur will not hydrate into a workable dough and the shell will crack no matter what else you do.
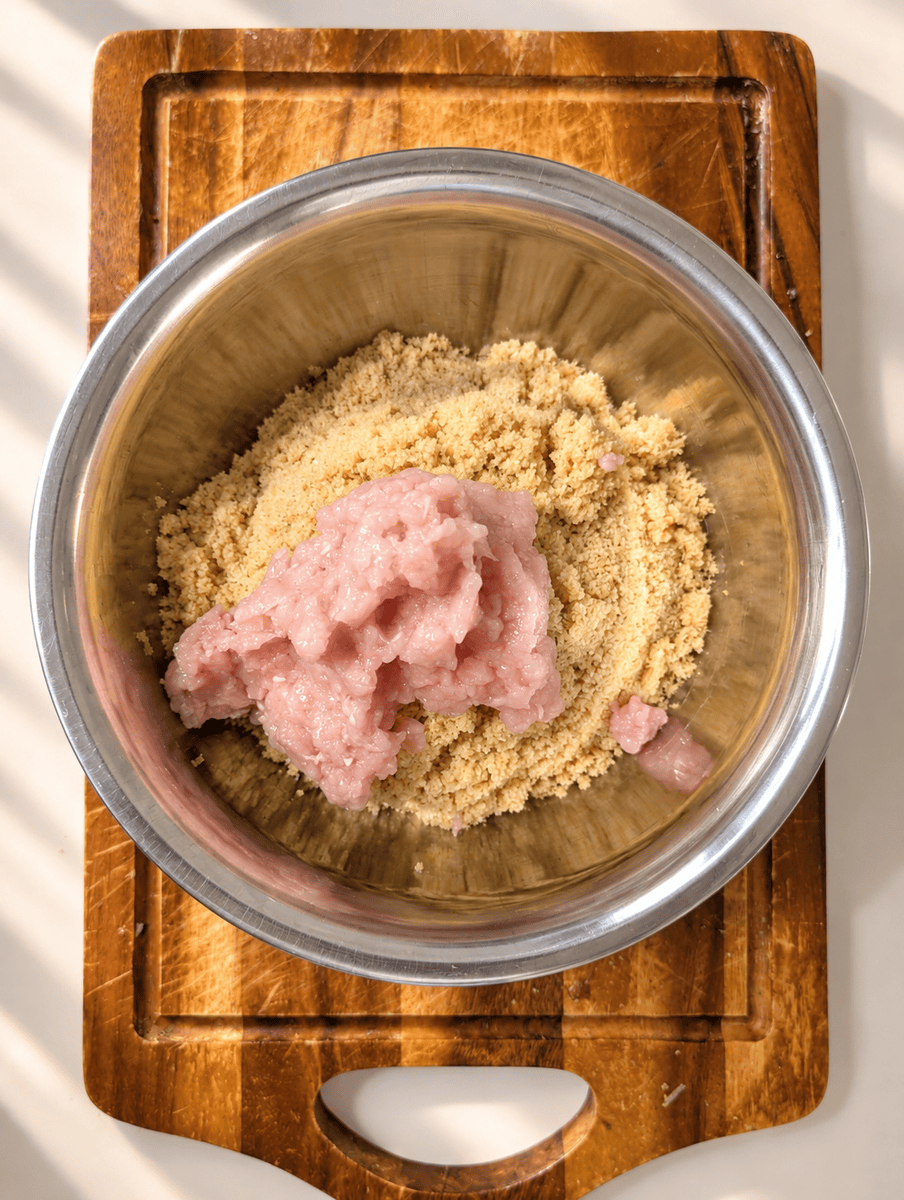
- Add the oil and the ground chicken breast to the rested bulgur.
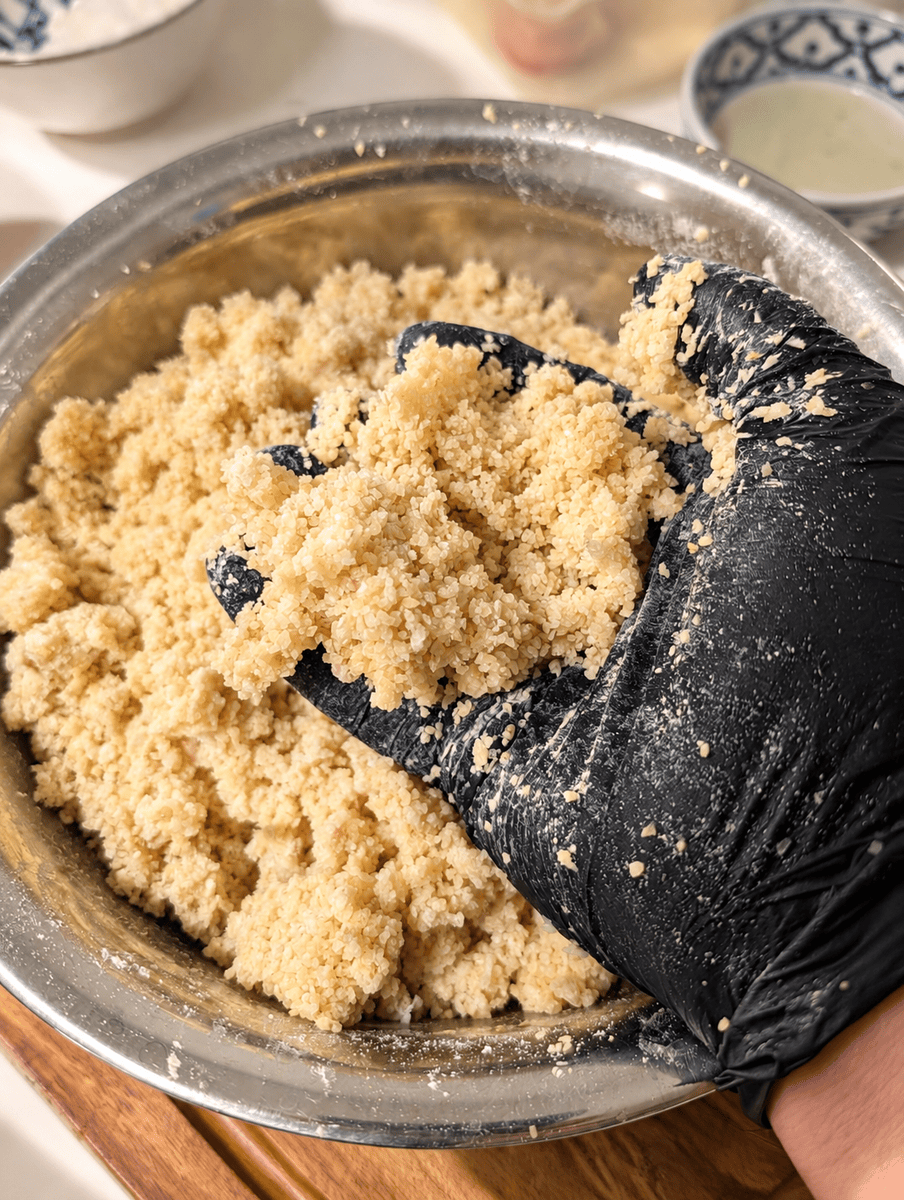
- Put gloves on and mix with your hands. This is not a spoon job, you need to feel it.
- Keep going until the mixture stops looking like wet grain and starts clumping together as one mass.
- Add the flour, baking powder and half a teaspoon of salt.
- Mix until just combined and evenly distributed.
- This is the step that decides everything, and it is the hardest to write down.
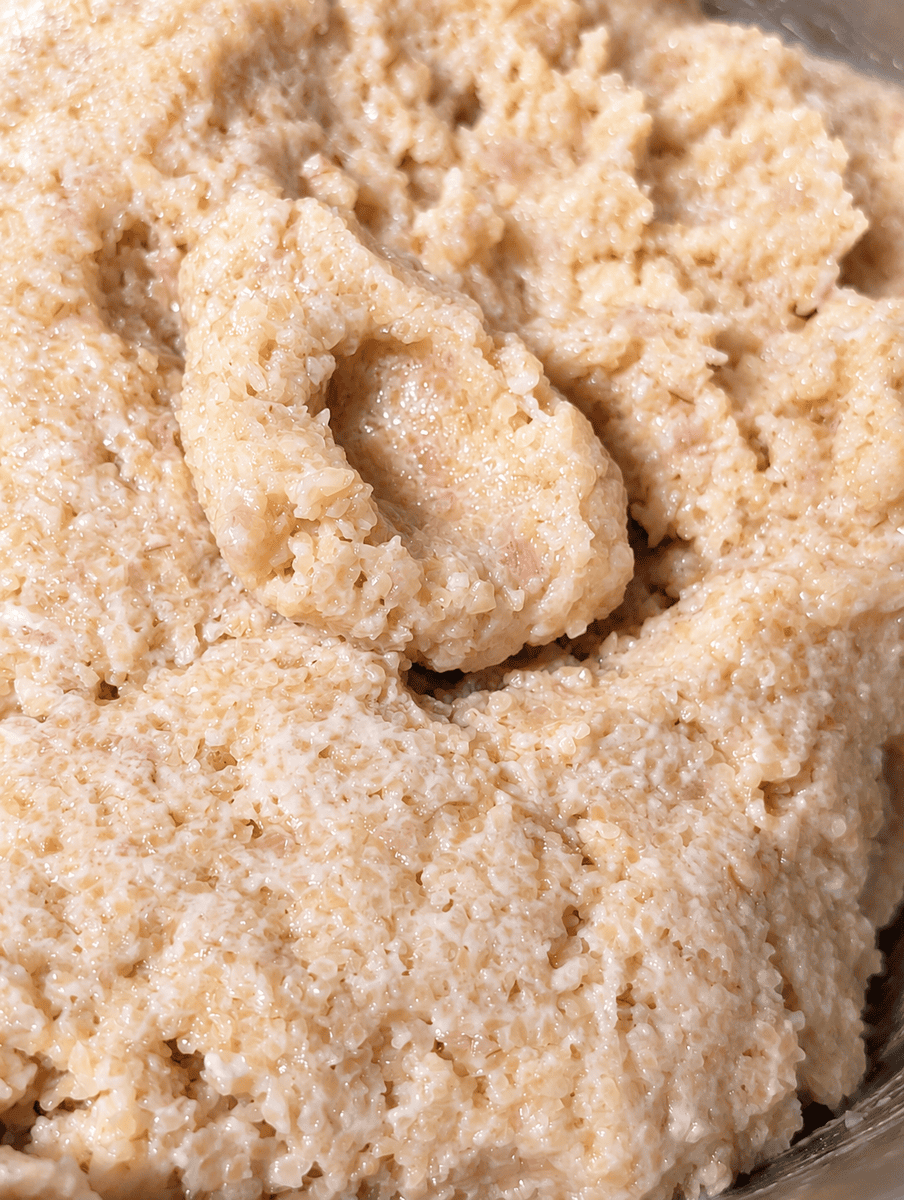
- The dough needs to be unified: squeeze a handful and it should hold, not crumble apart. Crumbling means too dry.
- It also must not be loose. Roll a ball and it should stay a ball.
- It should feel like playdough.
Shaping the Kibbeh
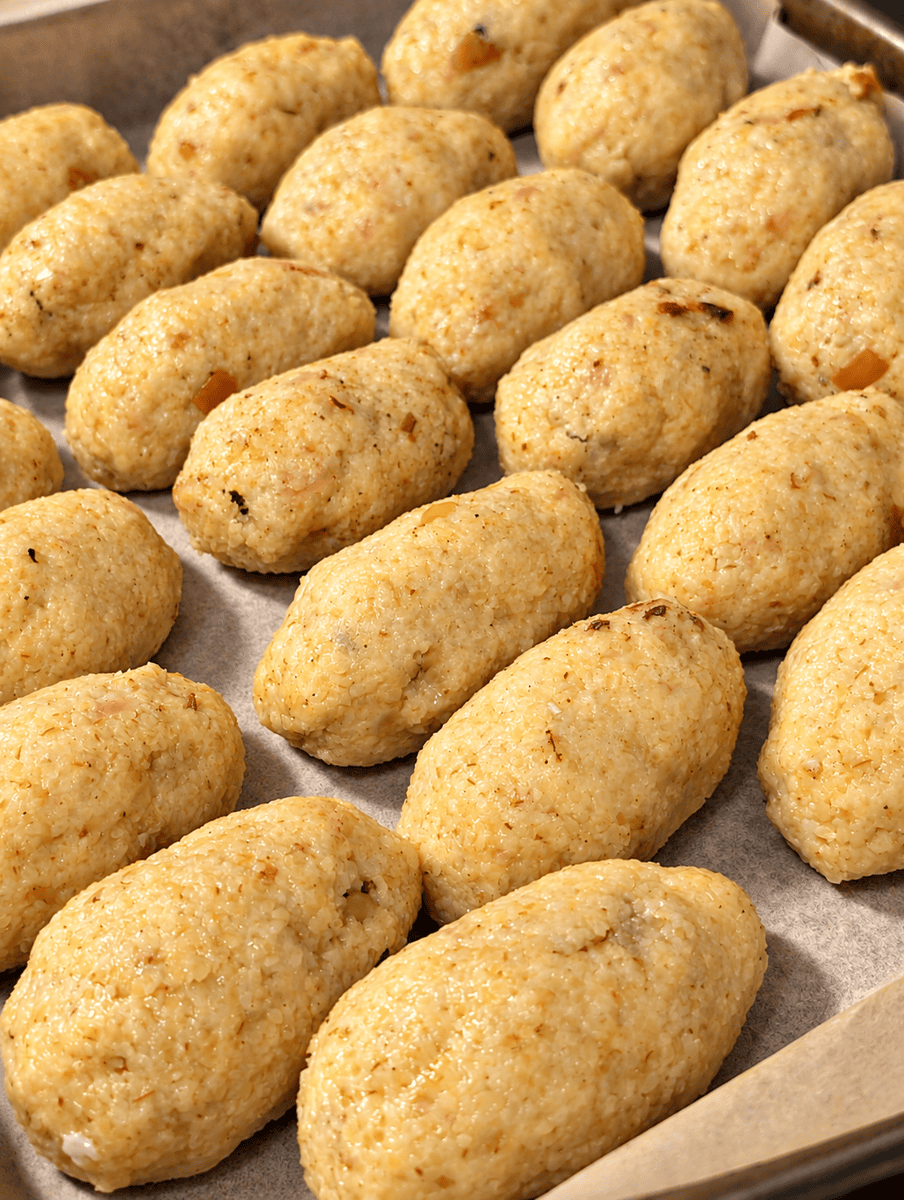
There are two ways I do this, and neither is better than the other. The first is to form a cone in your hand, fill it and close the top. The second, which is the one in the photos and the one I find easier to keep even, is to roll a ball, flatten it on your palm and then curve it into a little cup, roughly half a tennis ball.
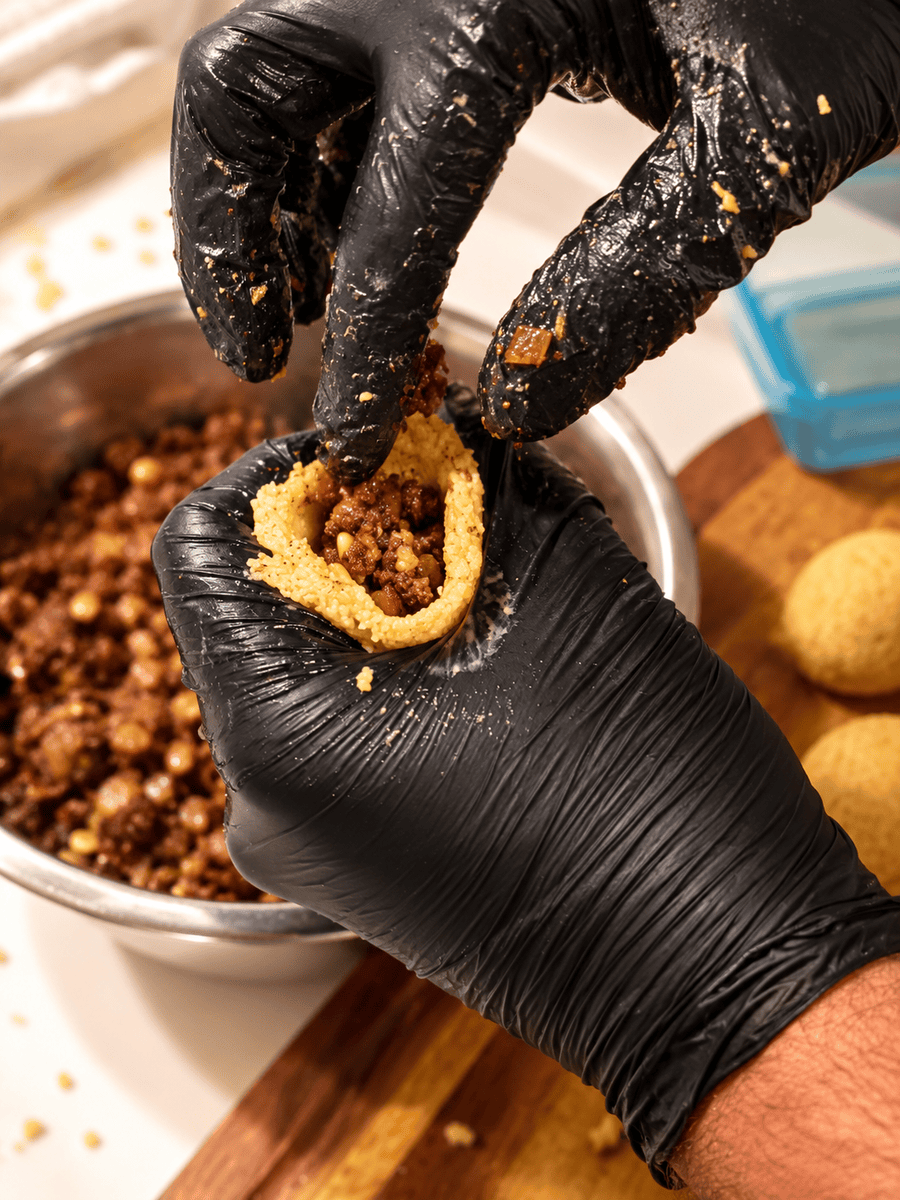
Either way the goal is the same: the shell thin, the filling substantial. A thick shell is the most common mistake and it turns a delicate thing into a heavy one. There should be a real amount of meat in there.
- Take a piece of dough and roll it into a ball in wet or gloved hands.
- Flatten it on your palm, then work it into a cup with your thumb, thinning the walls as you go.
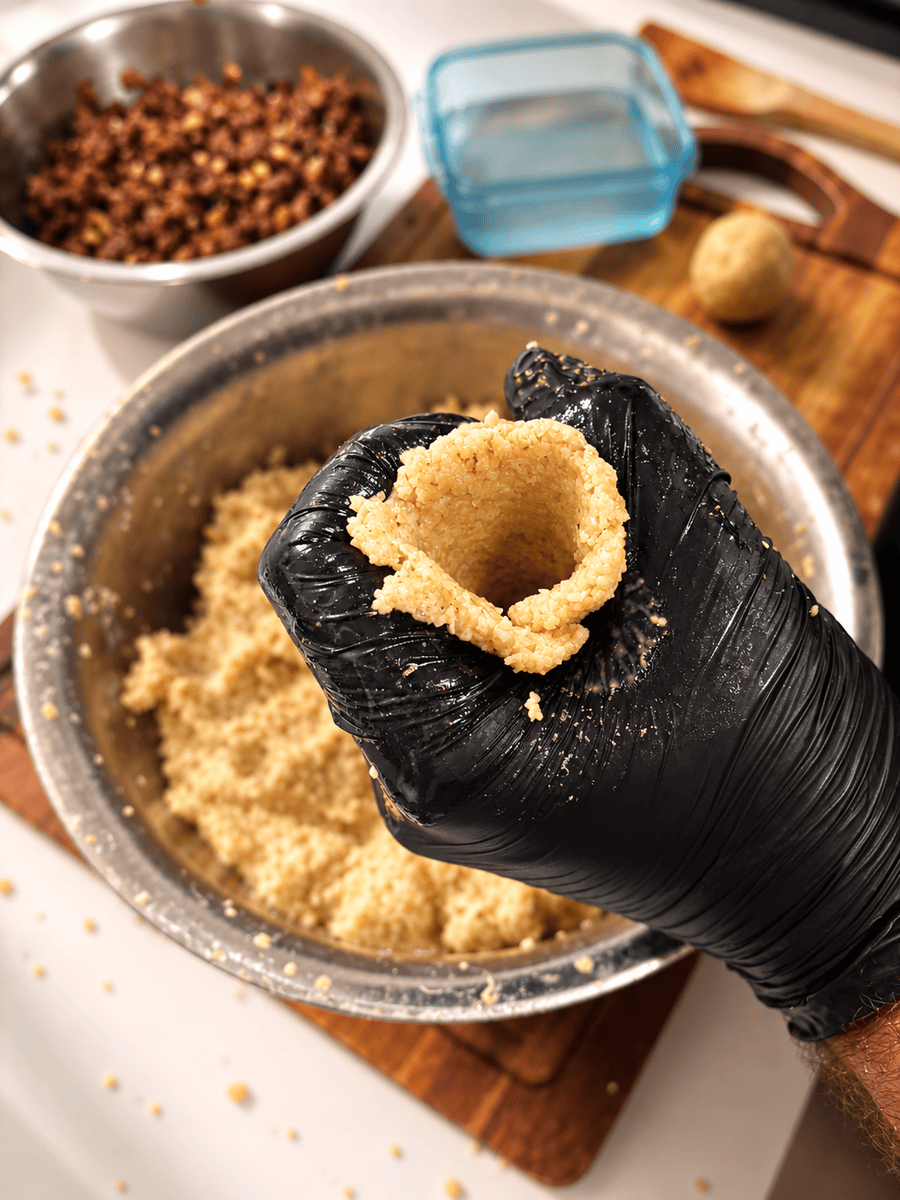
- Spoon in the cooled filling, packing it in rather than sprinkling it.
- Close the dough over the top and smooth the seam until it disappears.
- Shape it into a torpedo, slightly pointed at both ends.
- Any crack or thin spot will open in the oil, so check the seam before you set it down.
Frying the Kibbeh
The last stage of this fried kibbeh recipe is the shortest and the easiest to get wrong. Everything you built into the shell can still be undone by oil that is too cool.
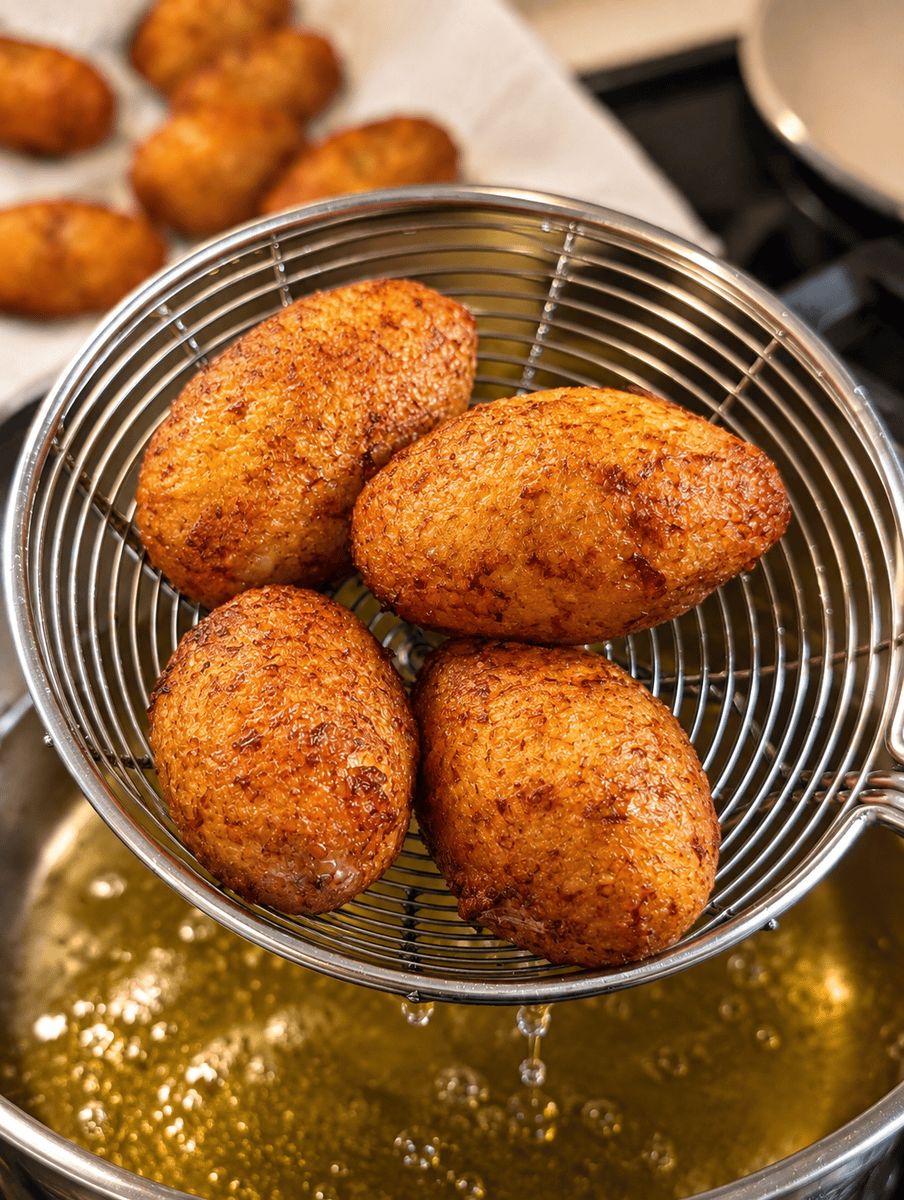
- Use a small pot with enough oil to submerge them, and bring it to 160-180°C.
- Fry until golden brown, leaning toward the browner end. Pale kibbeh is undercooked kibbeh and the shell will be soft.
- Do not crowd the pot. Each batch drops the oil temperature, so give it a moment to recover between batches.
- Drain on a rack or paper.
- 🌾 Buy fine bulgur, not coarse. Thin or fine grind, sometimes labeled grish. Coarse bulgur will not form a workable shell.
- 🧤 Wear gloves and keep them damp. The dough sticks to bare hands and you will lose half of it fighting your fingers.
- ❄️ Cool the filling completely. Warm filling makes the shell go soft and sealing becomes guesswork.
- 🤏 Thin shell, generous filling. If you are unsure, go thinner than feels safe. Thick shells are the most common mistake.
- 🌡️ Watch the oil temperature. Too cool and they drink oil and go greasy, too hot and the shell colors before the inside heats through.
How to Serve Fried Kibbeh
Serve this fried kibbeh recipe hot, with tahini. That is how they were served to me and I have never found a reason to change it. The raw tahini sauce is loose, nutty and slightly bitter, and it cuts straight through the fried shell and the richness of the filling.
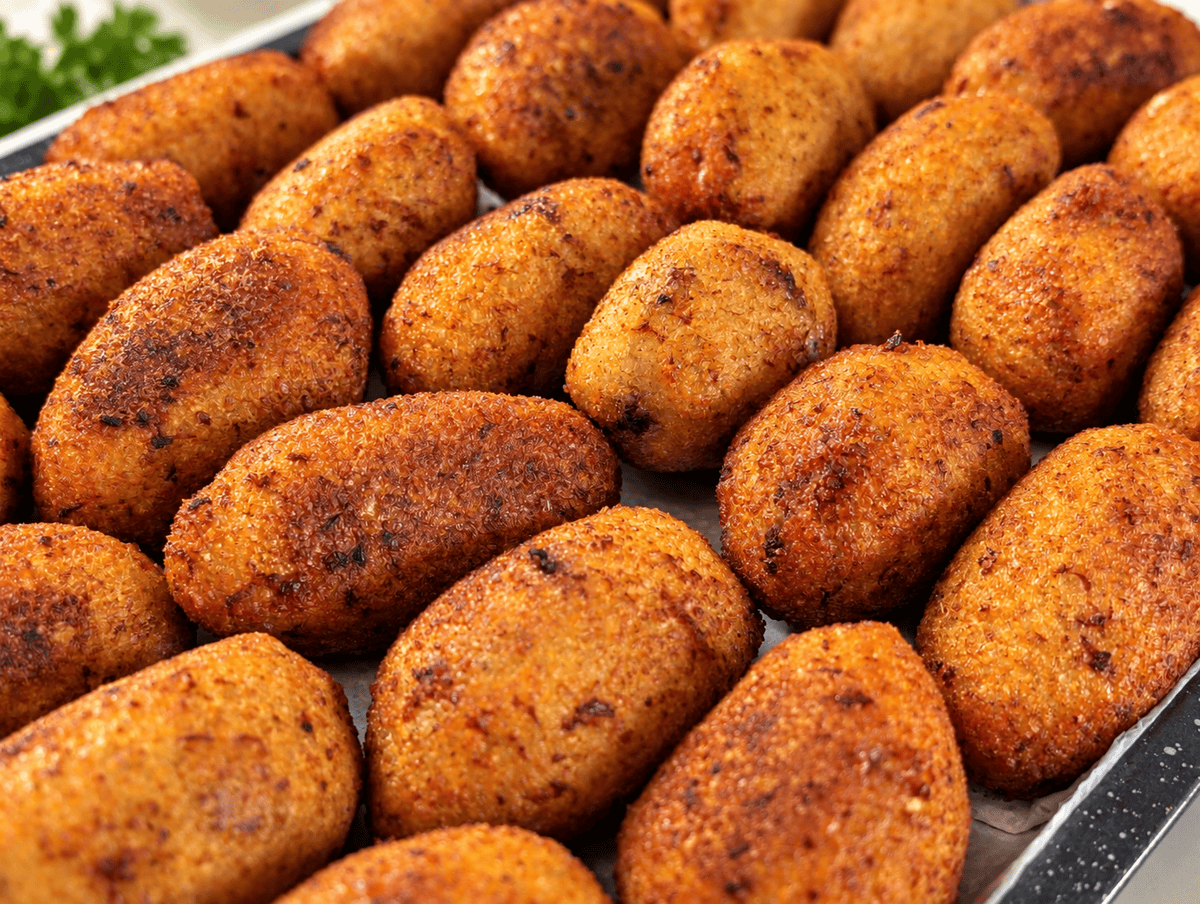
They work as a snack eaten standing in the kitchen, which is how most of them get eaten in my house, and equally as part of a mezze spread with falafel, tzatziki, salads and pita. They are best within a few minutes of leaving the oil, when the shell is still audibly crisp.
If you want to read more about the wider kibbeh family and how far it stretches across the region, the Wikipedia entry on kibbeh is a good overview of the regional variations.
Frequently Asked Questions
If you make this fried kibbeh recipe, leave a rating below and tell me which version you grew up with. There are as many kibbeh as there are families, and I am always looking for another one to try. For more from this corner of my cooking, the chili oil is a different tradition entirely but lives on the same table.