
Classic Homemade Sushi
(better than you think)
Making sushi at home sounds intimidating, but it really comes down to two things: good rice and a bit of patience. Once you nail the sushi rice, everything else follows. This recipe walks you through the rice from scratch, the fillings worth trying, and how to actually roll it so it holds together. No special equipment needed beyond a bamboo mat and some nori sheets.
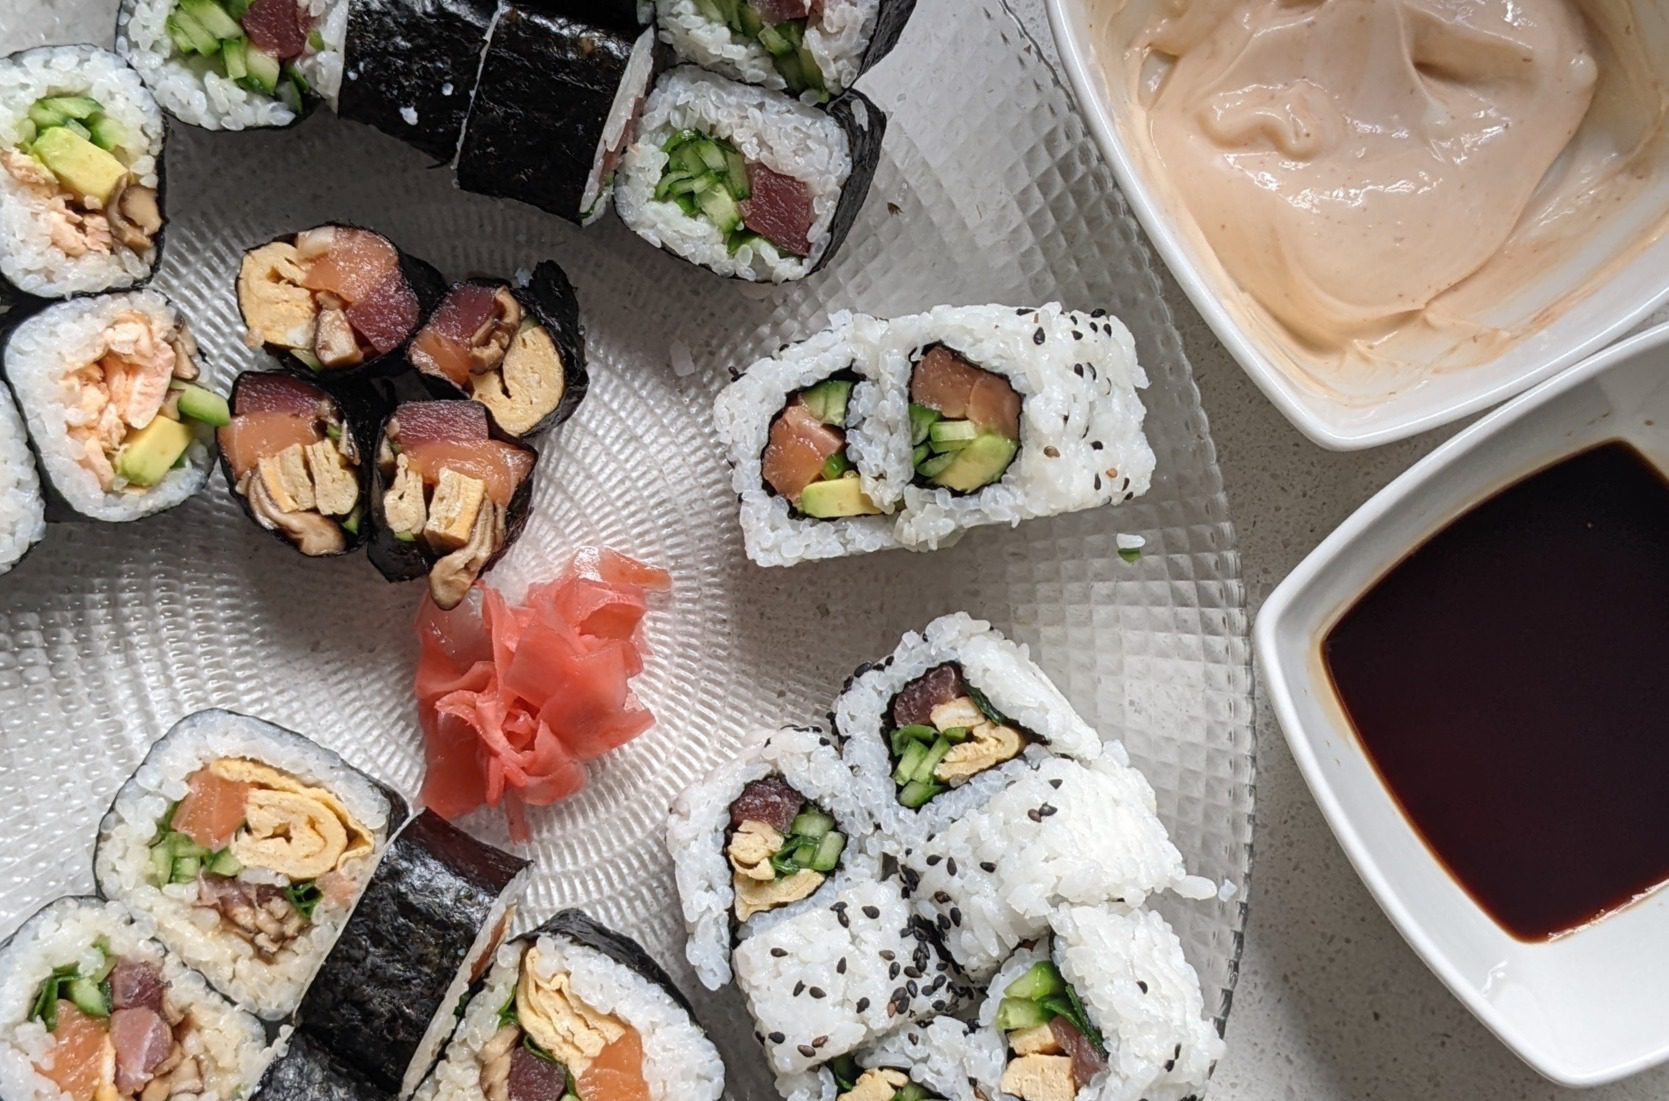
Homemade sushi rolls on a plate with soy sauce and pickled ginger
The Rice Is Everything
Most homemade sushi fails at the rice stage. Either it's too dry, too wet, or just plain steamed rice with no seasoning. Proper sushi rice is seasoned while still warm with a vinegar marinade, and it needs to cool to room temperature before you use it. It won't feel very sticky right off the heat, but as it cools it comes together perfectly. Don't skip the marinade and don't rush the cooling.
How to Make It, Step by Step
- In a small pot over low heat, combine the rice vinegar, mirin, sesame oil, sugar, and salt.
- Stir constantly until the sugar and salt fully dissolve and the sharp vinegar smell softens. Remove from heat and let it cool completely.
- Rinse the rice 3 to 4 times until the water runs clear. Soak in fresh water for 20 to 30 minutes with the kombu seaweed if using.
- Remove the kombu, drain the rice, and cook according to package instructions.
- While the rice is still warm, transfer to a large bowl and mix in the marinade. Spread it out and let it cool to room temperature — it gets stickier as it cools.
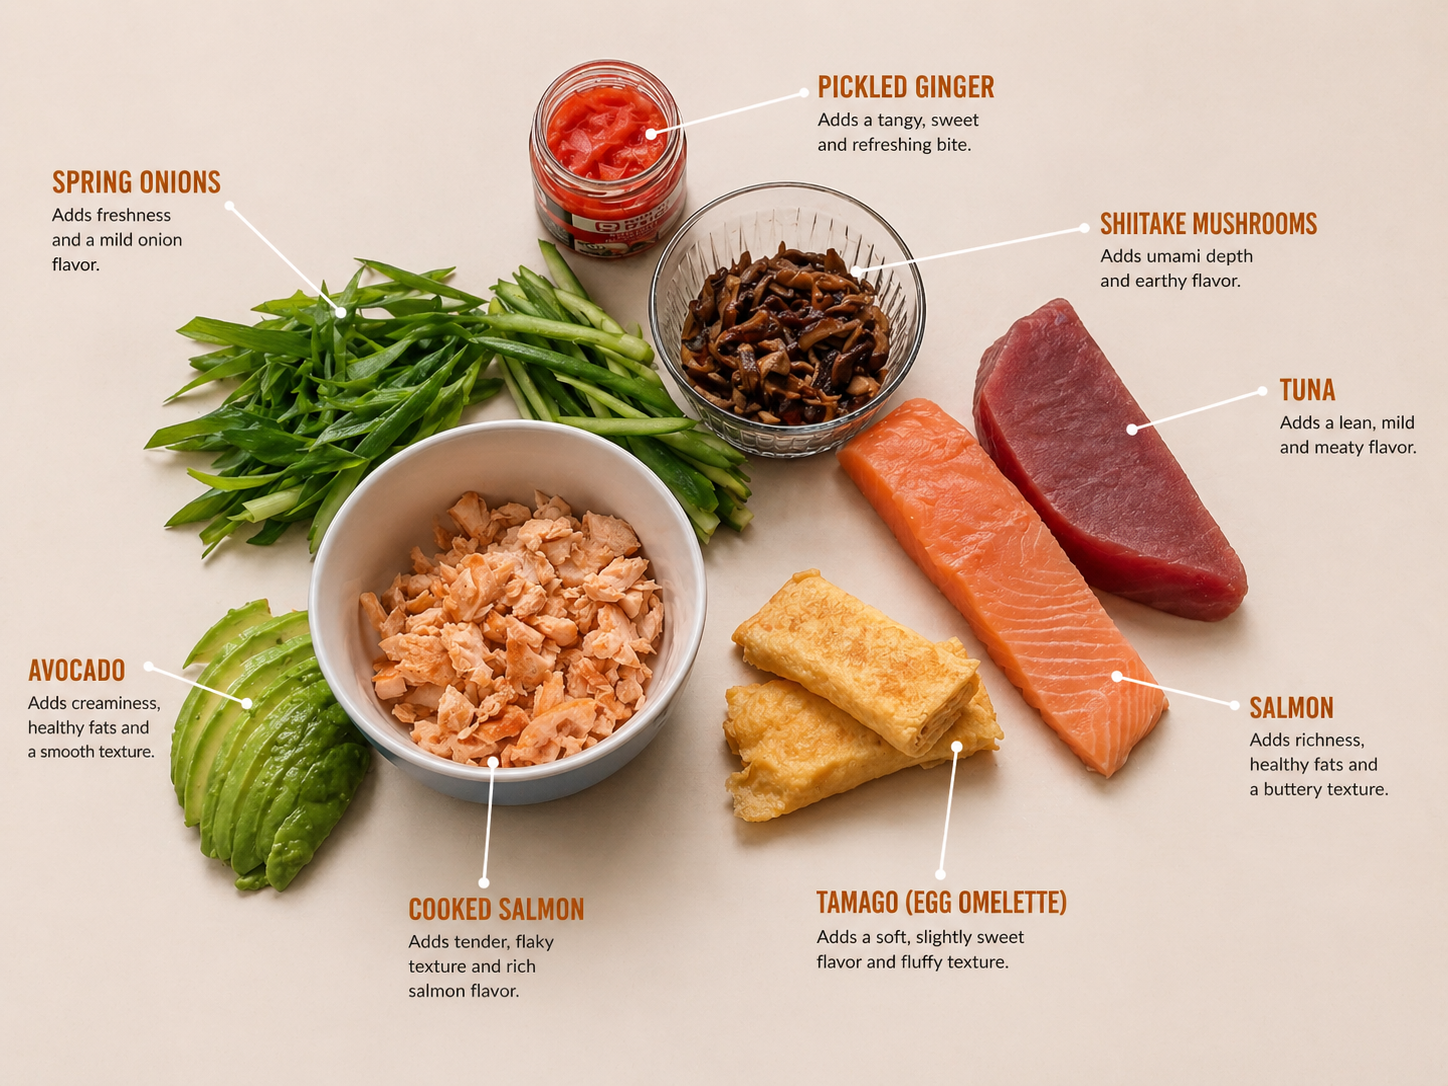
- Slice fish into thin strips or small cubes. Cut cucumber and avocado into long thin strips.
- If using tamagoyaki, slice into rectangular pieces that fit across the nori sheet.
- Have everything ready before you start rolling — once you begin it moves fast.
- Cover your bamboo mat with plastic wrap to prevent sticking.
- Place a nori sheet smooth side down, with the lines running vertically. Trim off the top quarter if you prefer smaller rolls.
- Wet your hands and spread rice evenly from the bottom up to about three quarters of the nori sheet. Keep a thin, even layer.
- Add your fillings in a line across the bottom third of the rice.
- Roll tightly from the bottom using the bamboo mat, pressing firmly as you go. Seal the edge with a little water on the exposed nori.
- Slice into pieces with a sharp, wet knife. Clean the blade between cuts for cleaner edges.
- 🔪 Wet your knife: Wipe the blade with a damp cloth between every cut. A dry knife on sticky rice means messy, crushed rolls.
- 💧 Wet hands always: Keep a bowl of water next to you and wet your hands before touching the rice each time. It prevents sticking and makes spreading much easier.
- 🐟 Fish quality: If using raw fish, buy sashimi-grade from a fishmonger you trust. If unsure, go with cooked or pan-fried salmon instead.
- 🍚 Day-of rice only: Sushi rice does not store well. Make it the same day and use it at room temperature. Never refrigerate it.
- 🌿 Nori stays crispy: Roll and eat relatively soon after. The longer the nori sits with rice on it, the softer it gets.
Frequently Asked Questions
Drop a comment below and let me know what fillings you went with. First time rolling? Tell me how it went. If you're into Japanese recipes, the milk bread is worth trying next — a completely different skill but just as satisfying. Tag your photos and show off that cross-section cut.