
No Knead Dutch Oven Bread
(crispy crust, open crumb, zero effort)
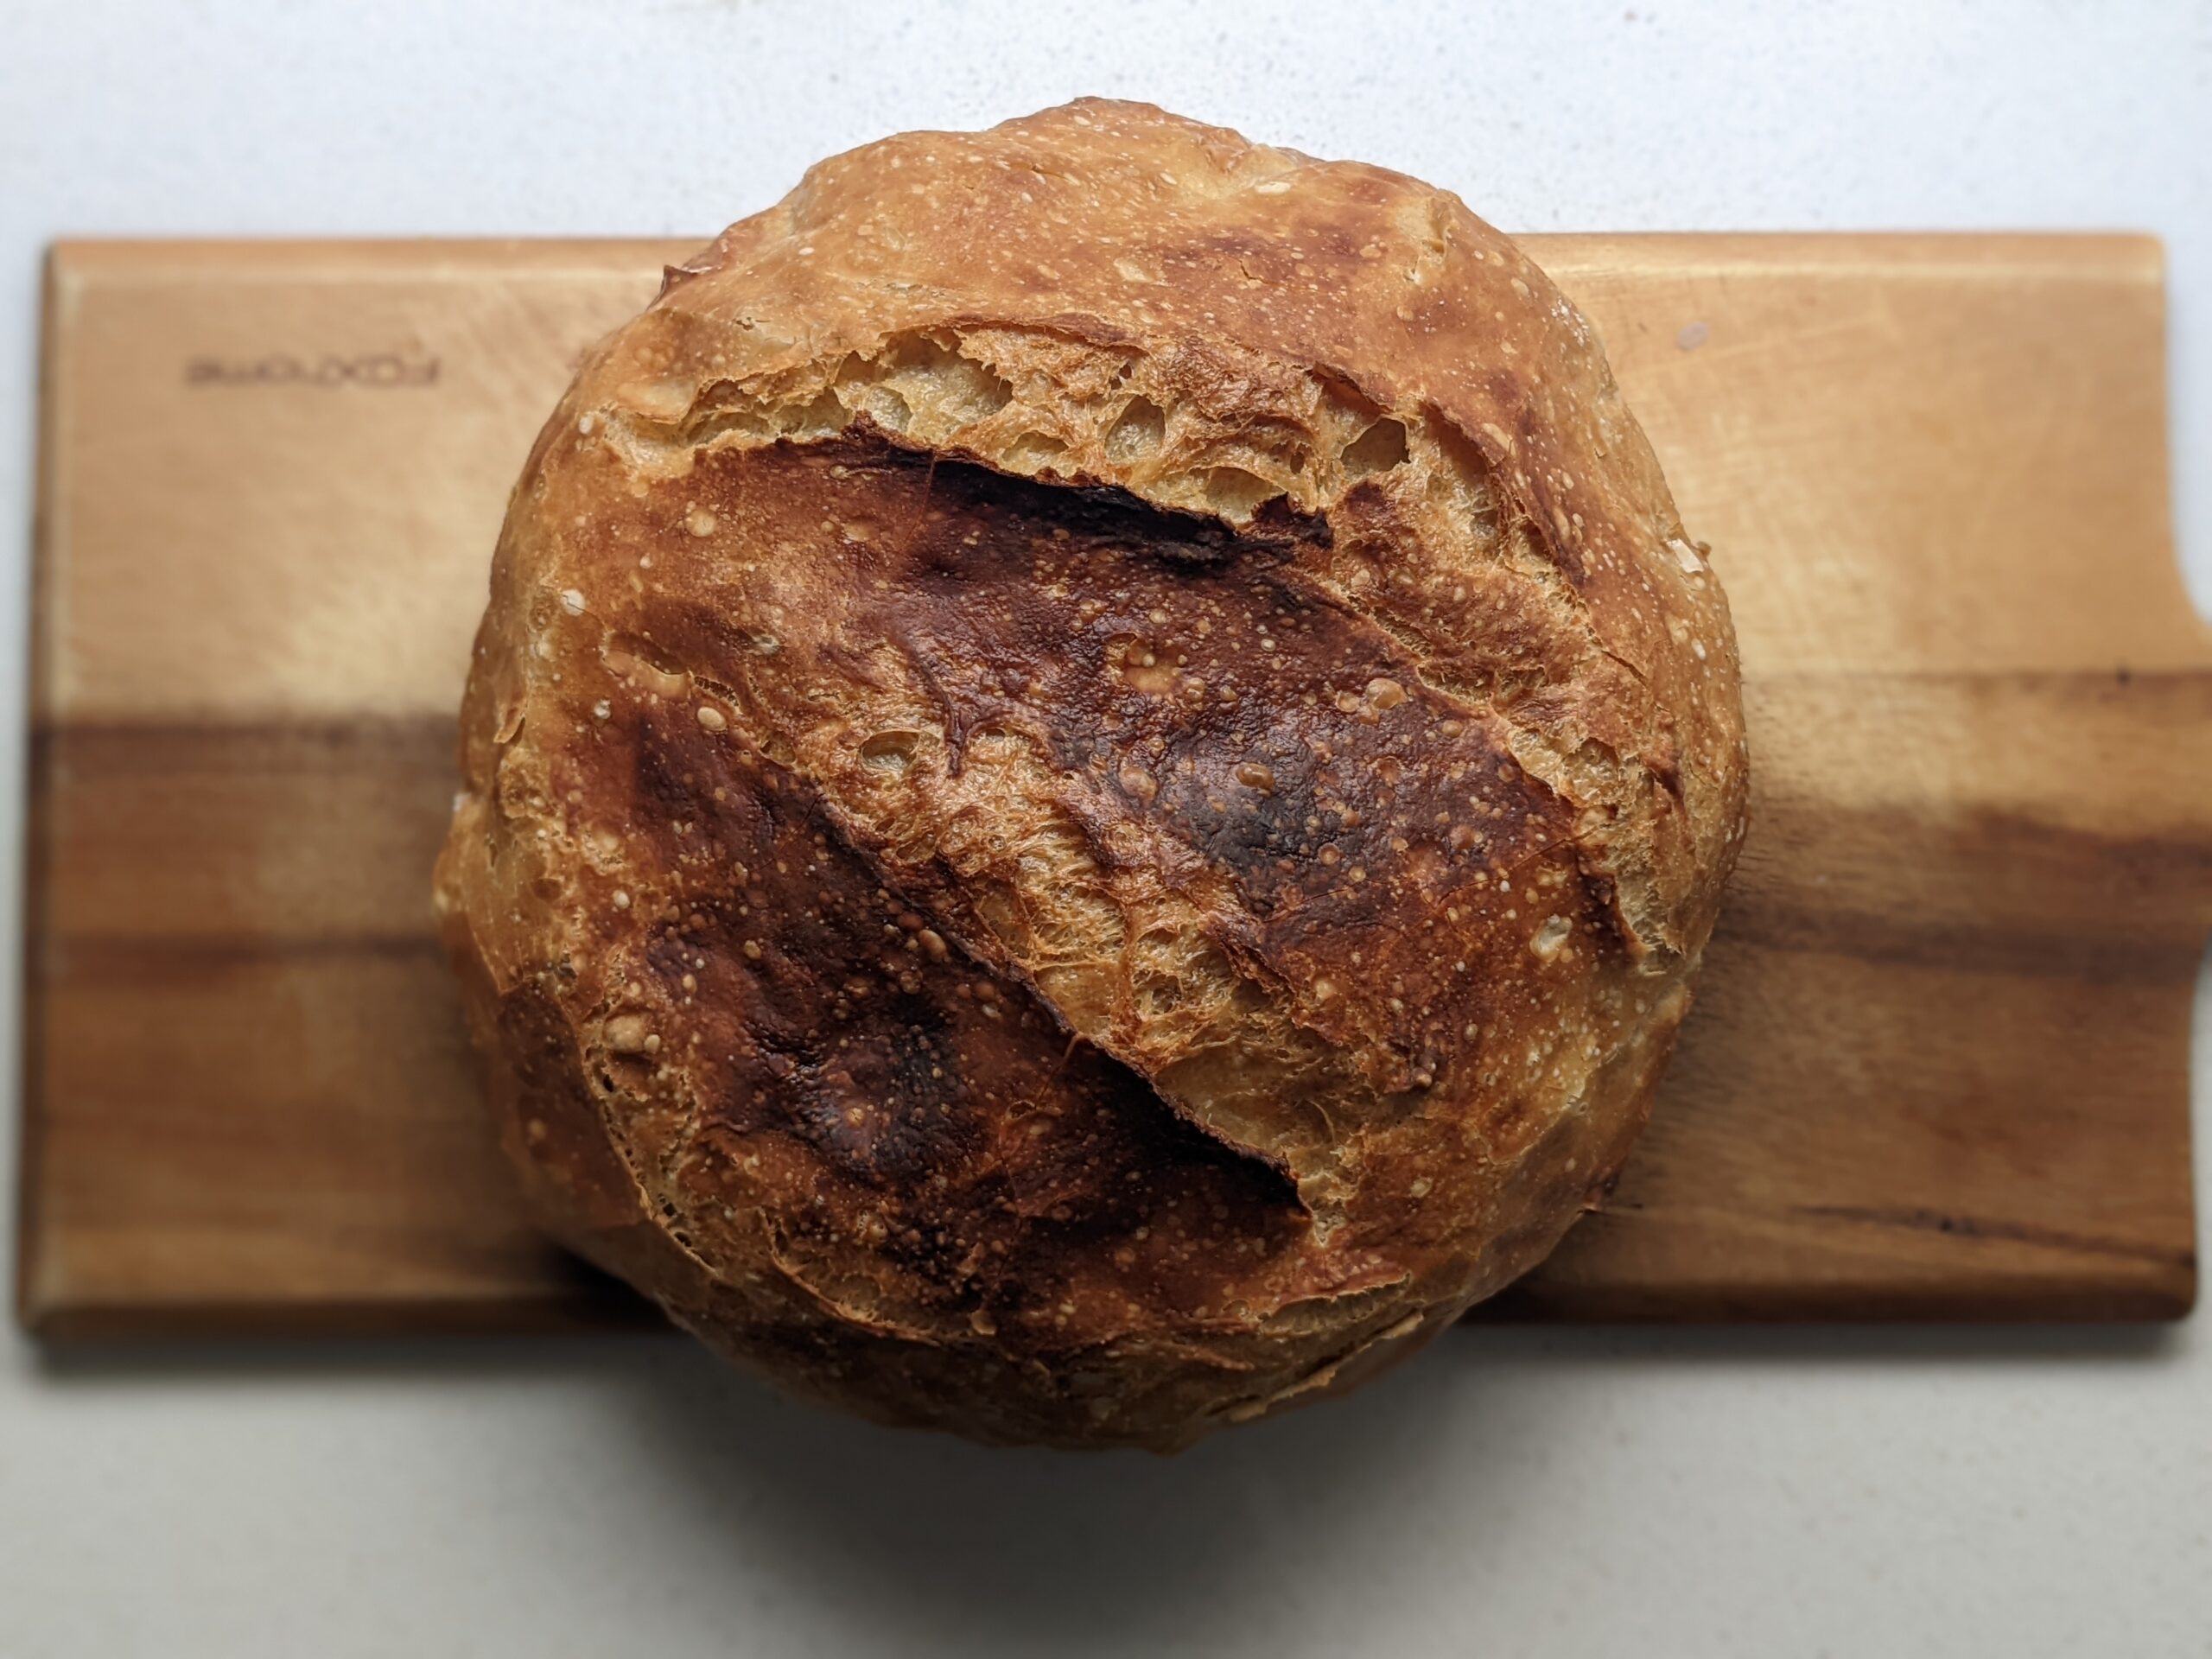
This no knead Dutch oven bread produces a loaf with a shatteringly crispy crust, an open airy crumb, and a depth of flavour that tastes like it came from a proper artisan bakery. The Dutch oven traps the moisture from the dough and creates the same steam a professional oven produces — giving you that thick, crackly crust you can hear when you tap it. No kneading, no stand mixer, no skill required. Just time, a pot, and a little patience.
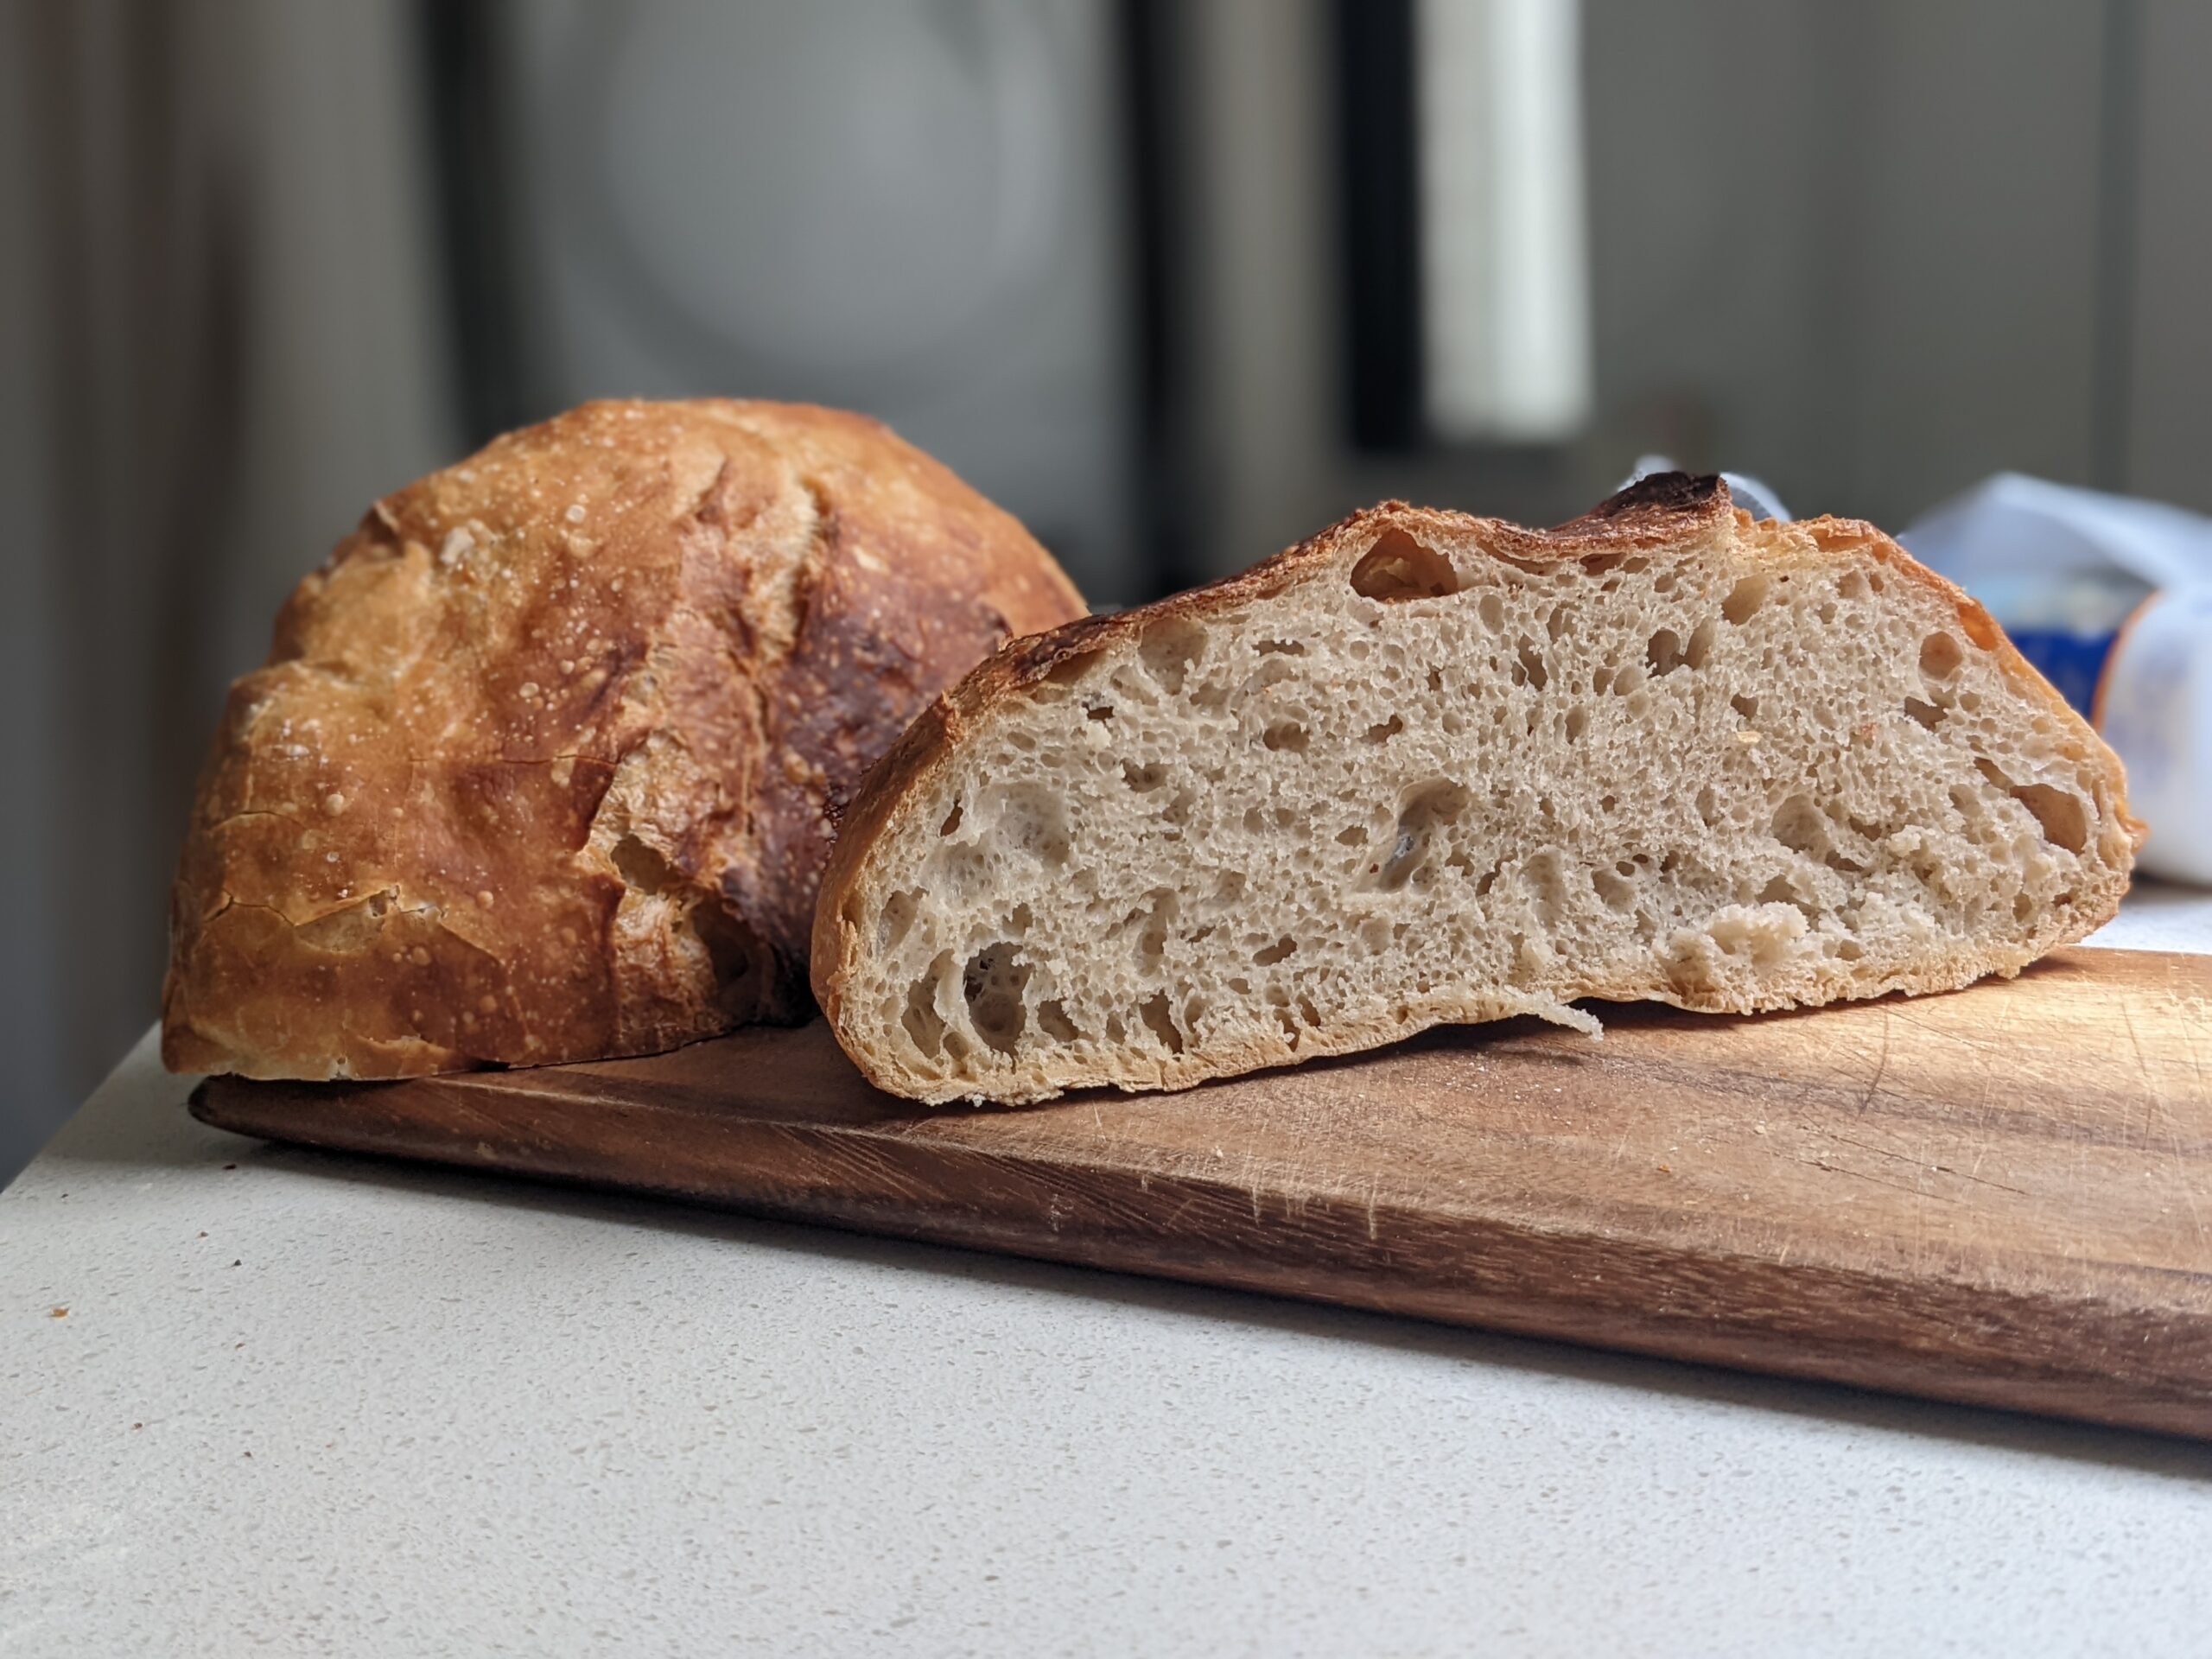
No knead Dutch oven bread — open crumb, crackly crust, bakery quality at home
Why This No Knead Dutch Oven Bread Works
Traditional artisan bread gets its crust from professional deck ovens that inject steam during the bake. Home ovens cannot do that — but a Dutch oven can. When you place the dough into a preheated pot and seal the lid, the moisture evaporating from the dough has nowhere to go. It circulates inside and creates the same steamy environment a professional oven produces. The result: a crust that blooms along the score lines, blisters beautifully, and sets into something genuinely crispy and thick.
The no knead method handles gluten development through time and stretch-and-fold sessions instead of physical kneading. A wet dough fermented over four hours, with four gentle fold sets, builds exactly the same elastic gluten network as a kneaded loaf — and because the dough is wetter, the crumb opens up into those large, irregular air pockets that define a great no knead Dutch oven bread.
How to Make No Knead Dutch Oven Bread, Step by Step
- In a large bowl, combine the flour, yeast, sugar, and salt. Mix the dry ingredients together first.
- Add the warm water and mix with a wooden spoon until everything comes together. The dough will look very shaggy and rough — that is correct.
- With very wet hands, work the dough until it no longer feels grainy to the touch. The dough should be wet and sticky throughout.
- If using olives or walnuts, fold them in now.
- Cover the bowl with plastic wrap, note the time, and leave at room temperature.
- Perform four stretch-and-fold sets at: 30 minutes, 1 hour, 2 hours, and 3 hours. Each set takes about 30 seconds.
- To stretch and fold: with a wet hand, reach under the dough, stretch it upward as far as it will go without tearing, then fold it back over itself. Rotate the bowl 90° and repeat — four folds per set. Re-cover after each set.
- At the 4-hour mark the dough should have grown significantly and feel light and airy. Pull the dough gently — if you can see long elastic gluten strands, it is ready to shape.
- Generously flour a work surface and turn the dough out onto it.
- Fold the dough over itself from all sides — north, south, east, west — without kneading. Roll gently to create surface tension and form a round shape.
- Place the shaped dough onto a sheet of parchment paper (this is your sling for lowering into the hot pot).
- Cover with a damp kitchen towel and leave to rest for 45 minutes.
- Just before baking, score the top with one or two deep slashes using a sharp knife or razor blade in one confident motion.
- While the shaped dough rests, place your Dutch oven (lid on) inside the oven.
- Preheat to 250°C (480°F) and let it heat for the full 45 minutes. The pot needs to be extremely hot before the dough goes in.
- Carefully remove the hot Dutch oven from the oven.
- Lower the dough into the pot using the parchment paper as a sling — paper and all.
- Put the lid on immediately and return to the oven.
- Bake for 40 minutes with the lid on. Do not open the oven during this time.
- After 40 minutes, remove the lid.
- Drop 2 or 3 ice cubes directly onto the oven floor or a preheated tray at the bottom — stand back when you do it. This creates a final burst of steam that finishes the crust.
- Bake for another 15 minutes uncovered until the crust is deeply golden and crackly.
- Transfer to a wire rack and cool for at least 10 to 15 minutes before slicing.

- 🌡️ Preheat the pot fully: The Dutch oven must be screaming hot before the dough goes in. A cold pot means no initial steam burst and a pale, soft crust. 45 minutes at 250°C is not optional for this no knead bread.
- 📄 Use parchment paper: Lowering dough into a 250°C Dutch oven without burning yourself is nearly impossible without parchment. Cut a sheet big enough to act as a sling with overhang on the sides.
- ✂️ Score deep: A shallow score seals shut before the loaf expands through it. Score at least 1 cm deep with a razor blade or very sharp knife in one confident motion.
- 🧊 Ice cubes at the end: This trick gives you a second steam burst right when the crust needs it most. Drop 2 or 3 cubes directly onto the oven floor — stand back.
- 🫒 Try the olive version: Fold in a handful of pitted Kalamata olives after mixing. The salt from the olives seasons the crumb from the inside. One of the best versions of this Dutch oven bread.
- ❄️ Storage: Store at room temperature in a paper bag or wrapped in a kitchen towel for up to 2 days. The crust softens in a plastic bag — avoid it. Freeze slices individually for up to 1 month.
Frequently Asked Questions About No Knead Dutch Oven Bread
Drop a comment below and let me know how your no knead Dutch oven bread turned out. Did you go plain or add olives? If you enjoyed this, try the no knead buns next — same dough, different format, equally satisfying. If you're into bread baking, the Japanese milk bread is another one worth making. Tag your photos and show off that crumb.